Showing posts with label sequins. Show all posts

Wednesday, October 28, 2015

Holiday Card Featuring Mama Elephant and Pretty Pink Posh Sequins

Hello everybody, Today I'm at the Marker POP blog Today I am sharing with you a card featuring the new "Twinkle towns" stamp set by Mama elephant. I love making cards that have backgrounds with sequin's work, so I'm always on the look out for stamps and die sets that let me do that, so as soon I saw this set I thought that I needed it, in order to make this card. Let me show you the card and I'll briefly tell you how I make it. 
I didn't do a step by step tutorial, however it is the same process of another card that I made back in July, so I will link it HERE and there is a photo tutorial on that post.
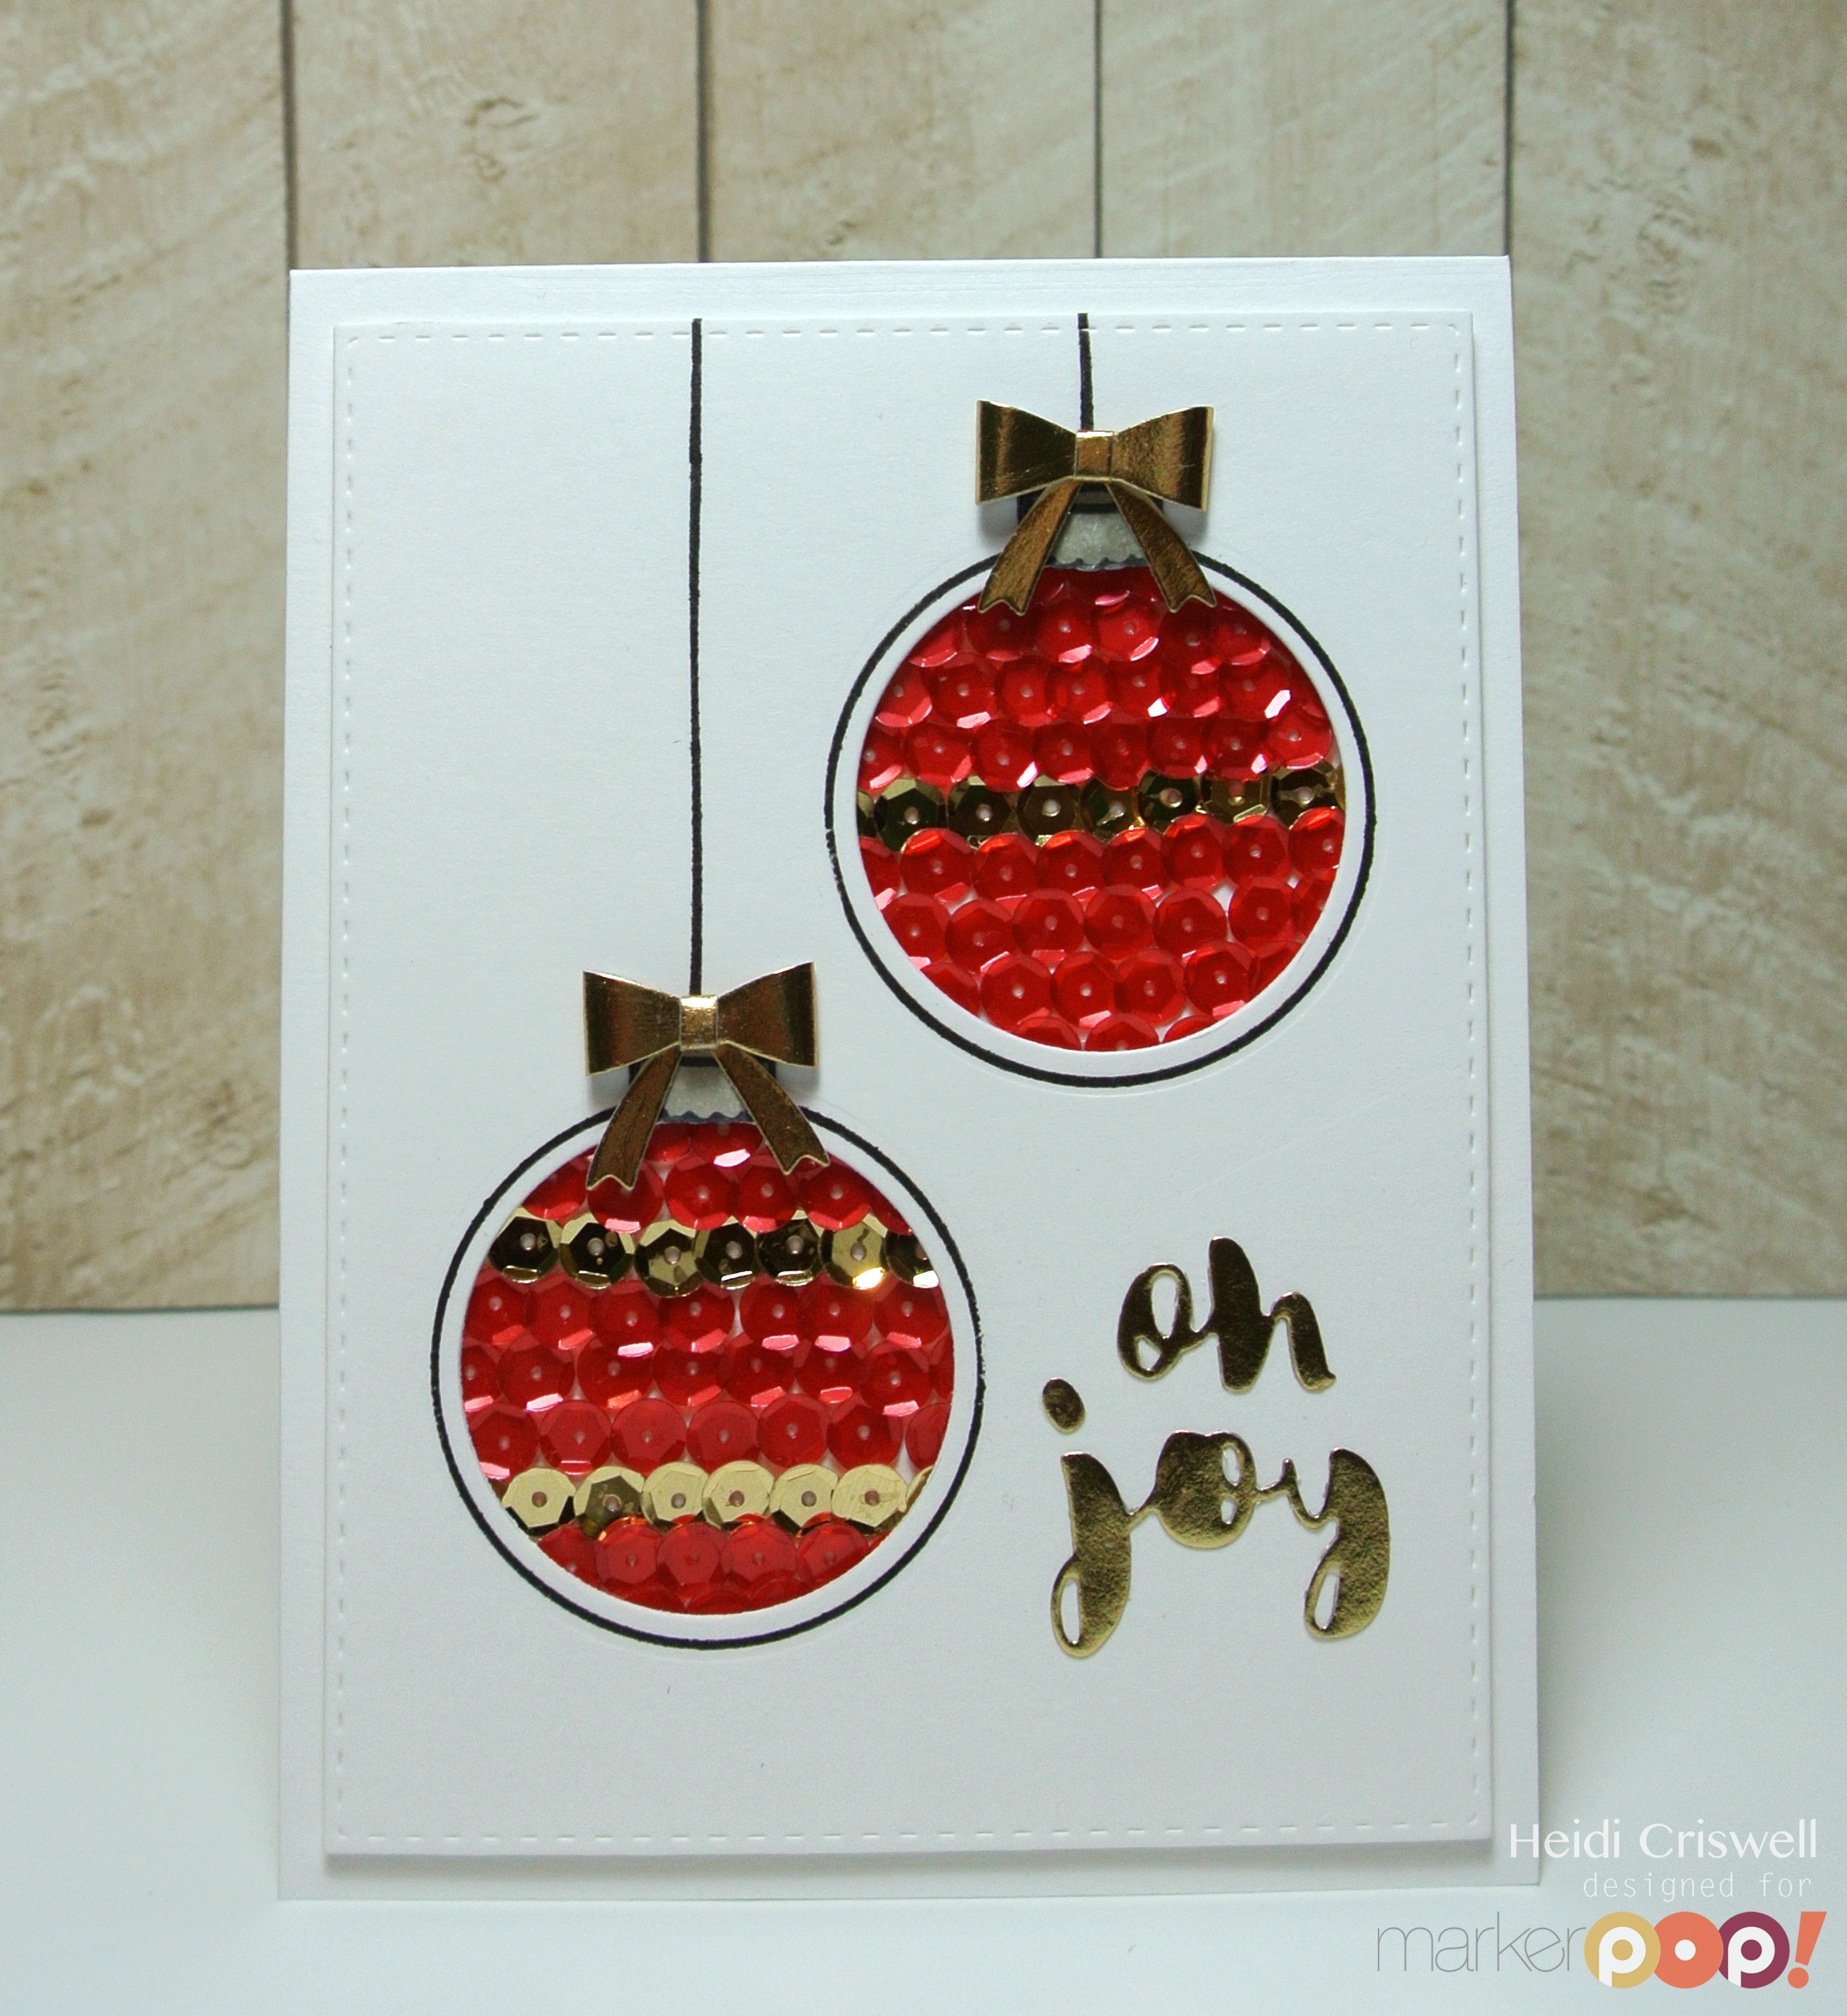
DSC_8173First I cut the panel with a stitched rectangle die, then I cut the two circles, after that I stamped the Christmas bauble or ornament. You will need a circle die that is a little bit smaller than the stamp. I adhered the sequins directly on to the card base and then I adhered the die cut panel with foam adhesive. 
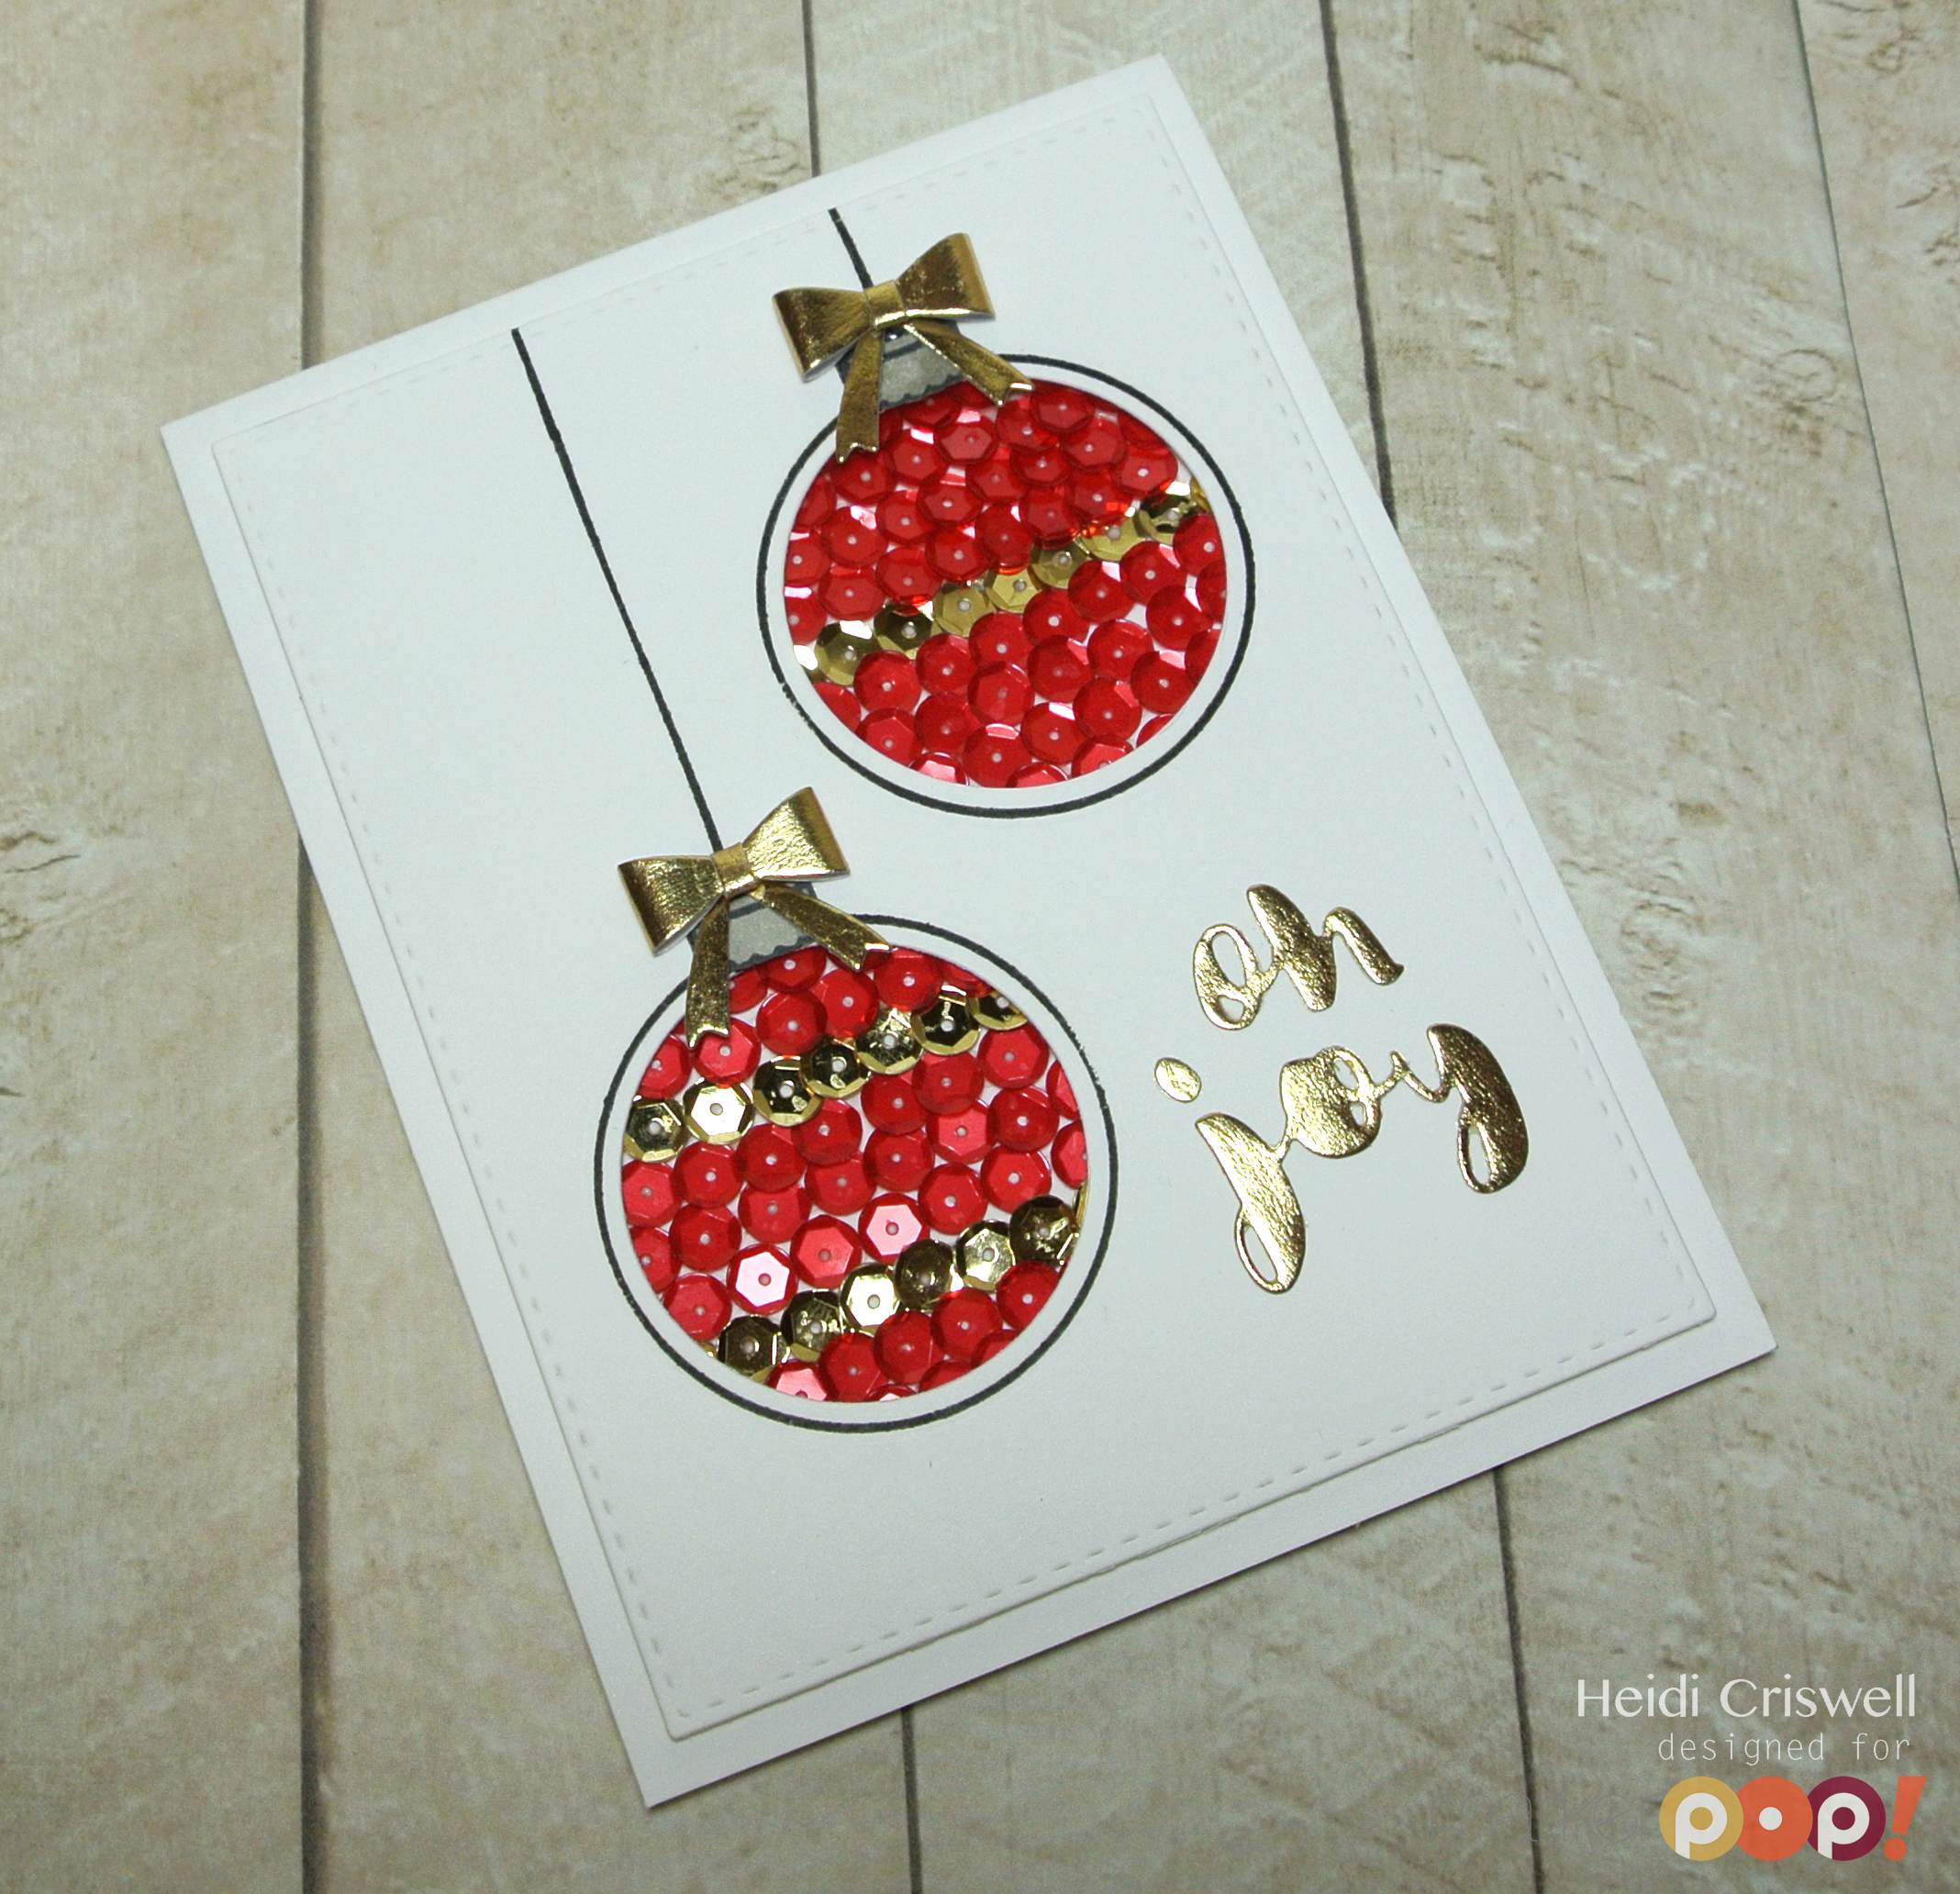
DSC_8172I used the Mama Elephant Creative Cuts "Twinkle towns" "Oh joy" die cut sentiment and the little bow from the Mama Elephant Creative Cuts Basic set, I cut them out of foil paper. The sequins that I used were Pretty Pink Posh Red Raspberry and Metallic Gold in cupped 6mm and.

I hope you enjoyed this very simple card, you can try any combination of sequins, or try to make patterns. I promise you it's very simple to glue the sequins using a quick stick or any other sticky tip tool, you can do that while you watch your favorite TV show or talk over the phone.

Thanks so much for stopping by I'll see you soon with more Crafty Time 4U


Monday, October 19, 2015

Lawnscaping Challenge No. 116 Too Cute to Spooke


Hello everybody! Welcome back to Crafty Time 4U! I hope you had a nice weekend!
Today we have a new Lawnscaping Challenge, and the theme is, "too cute to spook" sponsored by Lawn Fawn, so get your Halloween sets out or use some non-Halloween sets to create some spooky and sweet cards or other crafty projects and upload them to the Lawnsacapin challenge blog
To inspired you to enter the challenge I had created this card that I hope you'll like

 I created the background using Dusty Concord distress ink and the: "smooshing" background technique and I splattered some Black Soot distress ink. This is actually my second background because for some reason I smudged the black splatters in the first one and I almost did that on this one as well, even though I used my heat tool to dry them up. I had not idea what was happening because this is not the first time I use splatters of black. 

The Jack O' Lantern was actually an after thought as well since I thought the card need it a pop of a brighter color. The kitten, the hat, as well as the Jack O' Lantern
 are from the "Spooktacular"stamp set by Lawn Fawn

I hoped you enjoyed this card and that you got inspired to enter the challenge. Have a lovely week! 

Thanks so much for stopping by, I'll see you soon with more Crafty Time 4U!


Wednesday, September 30, 2015

Peek-a-boo Window Card Featuring MFT Stamps

Hello everybody, welcome back to Crafty Time 4U, today I'm  at the Marker POP blog, sharing with you a peekaboo card using My Favorite Things Stamps and Dienamics. 
The holidays are around the corner but I still have birthdays and other special occasions to go to and to make cards for, so today's card can be used for a birthday or encouragement for friend, child, or coworker. I think I mentioned before, that I really didn't like clowns so much, until this adorable "Pure Innocent" set came along. This is the most adorable clown I ever seen! Let me show you the card that I made and I will tell you a little bit more about it.

DSC_7950For this card I used the "Pure Innocence Clowning Around" stamp and coordinated Dienamic set, the "Peek-a-boo circle Dienamics" and the stitched rectangle panel from the "Blueprints No.24" 

DSC_7951I die cut and stamped the little clowns using "Memento Tuxedo Black" ink and them I colored them using Copic Markers. I used a blue-green, orange, and pink color palette, which I thought it was pretty fun for a cute little clown, and I added details on the bows, using a white gel pen .

DSC_7952I used stripped black and white paper for the backgrounds inside the peek-a-boo windows. and to finish my card I applied some glossy accent to the clown's noses and I added few of my favorite Pretty Pink Posh Sequins on "Sparkling clear" and "Pink Peonies"

I hoped you enjoy this card, all the supplies are listed and linked below have a wonderful day! 

Supplies:
Thanks so much for stopping by, I'll see you soon with more Crafty time 4U!

Monday, September 28, 2015

Lawnscaping Challenge, One Layer Cards


Hello everybody, welcome back to Crafty Time 4U, I hope you had a great weekend! Today I'm over the Lawnscaping Challenge blog, we are currently having our Lawnscaping Challenge No. 114 "One Layer Cards", sponsored by Lawn Fawn. If you haven't enter it, you can do it HERE
To inspire you to participate, I had created couple of one layer cards, one for fall and one for Christmas. One layers cards are great for mailing, and also can be quickly made. So here are the cards that I made, I hope you'll enjoy them and enter this challenge, I can't wait to see all your creations

 For this card I sued the "into the woods" the leaves were from the "Happy harvest" and the banner from "bannerific" stamp sets by Lawn Fawn. I used a little bit of masking and I finished the card with some 4mm sequins. 

For this card I got inspired on a card that I made back in July, however it wasn't a one layer card nor a Christmas card, but the idea came from that card you can see the card here. For this card I used the "Baaah Humbug" stamp set, some masking, and some subtle ink blending. I used the stitched borders to emboss some decorative border along the left and bottom sides of the card, and finished with some sequins.

Masking is a great way to add dimensions to a one layer card. you can do a lot more complex masking, or you could make simple fast cards to send easily over the mail, the possibilities are endless. 

I hoped you enjoyed these cards and that you give them a try, have a wonderful week!

Thanks so much for stopping by, I'll see you soon with more Crafty Time 4U!


Tuesday, August 25, 2015

Hang In There Friend!

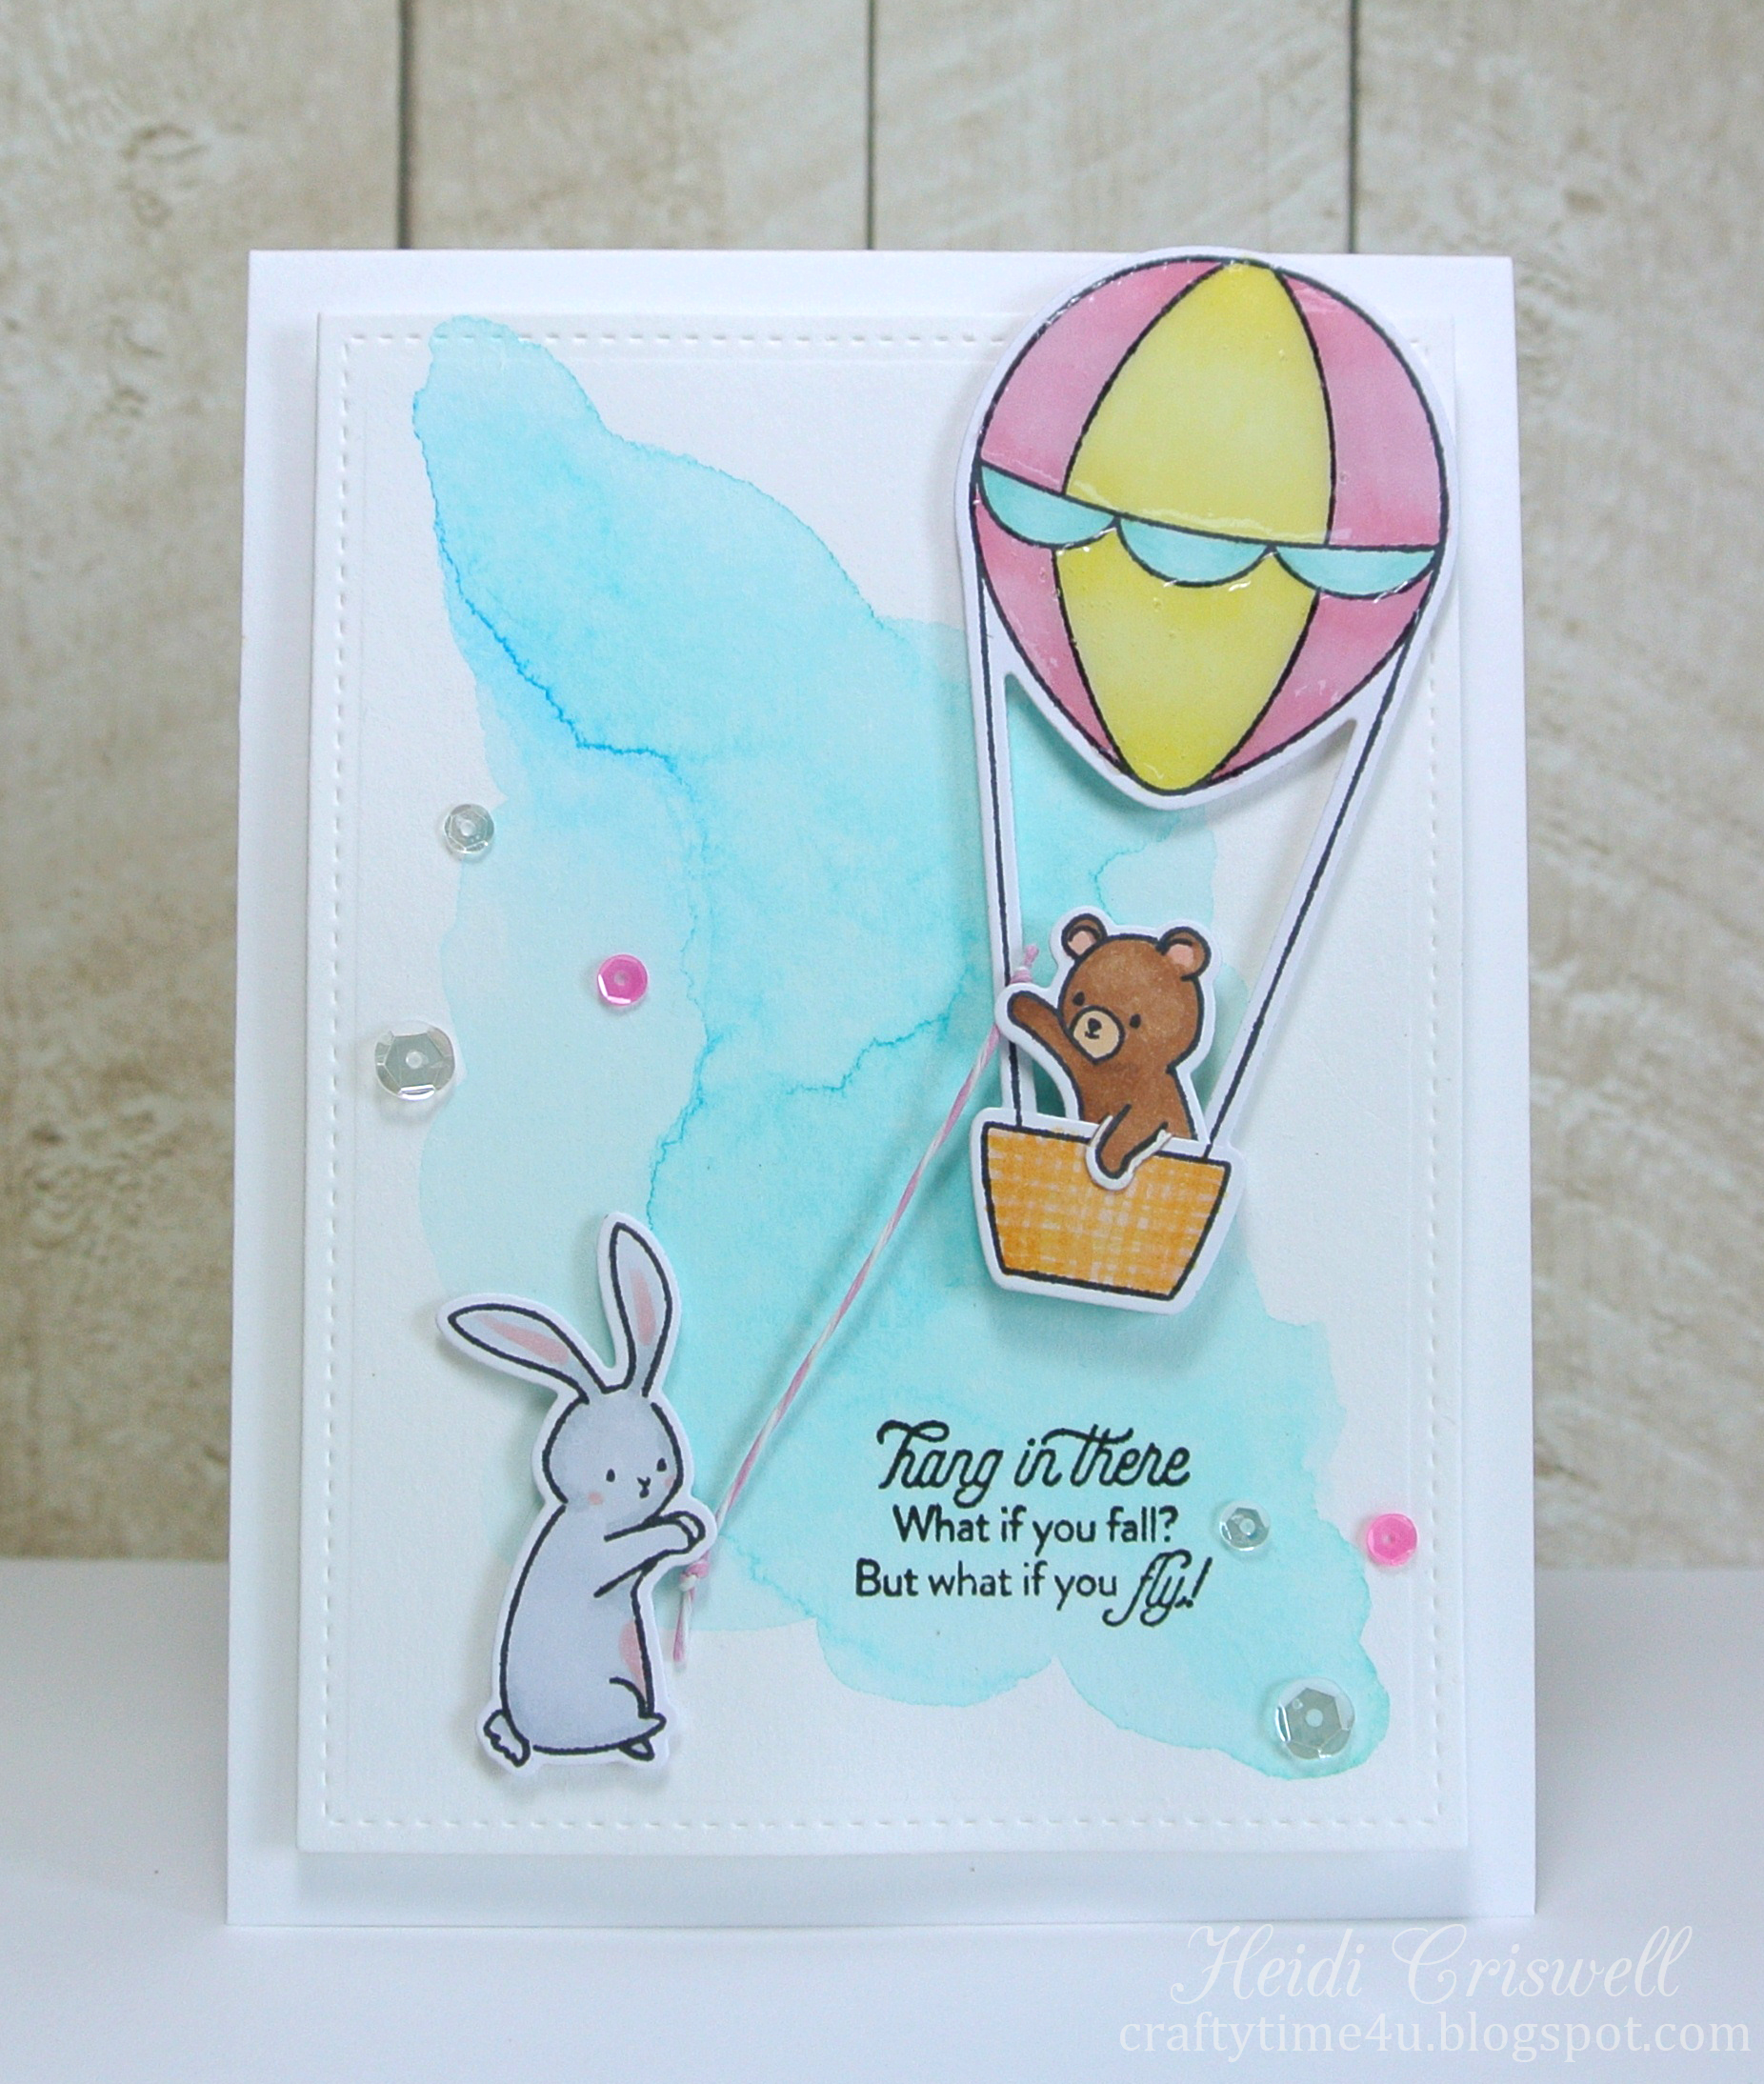
Hello, everybody! Welcome back to Crafty Time 4U, last Saturday I was at the Marker POP blog, sharing a card that I made, using the new "Going Places" stamps set by Wplus9, this is my first Wplus9 stamp and die set, but it won't be my last, I love it! such cute and soft images, I enjoyed making this card, let me show you and I will tell you a little bit more about it.
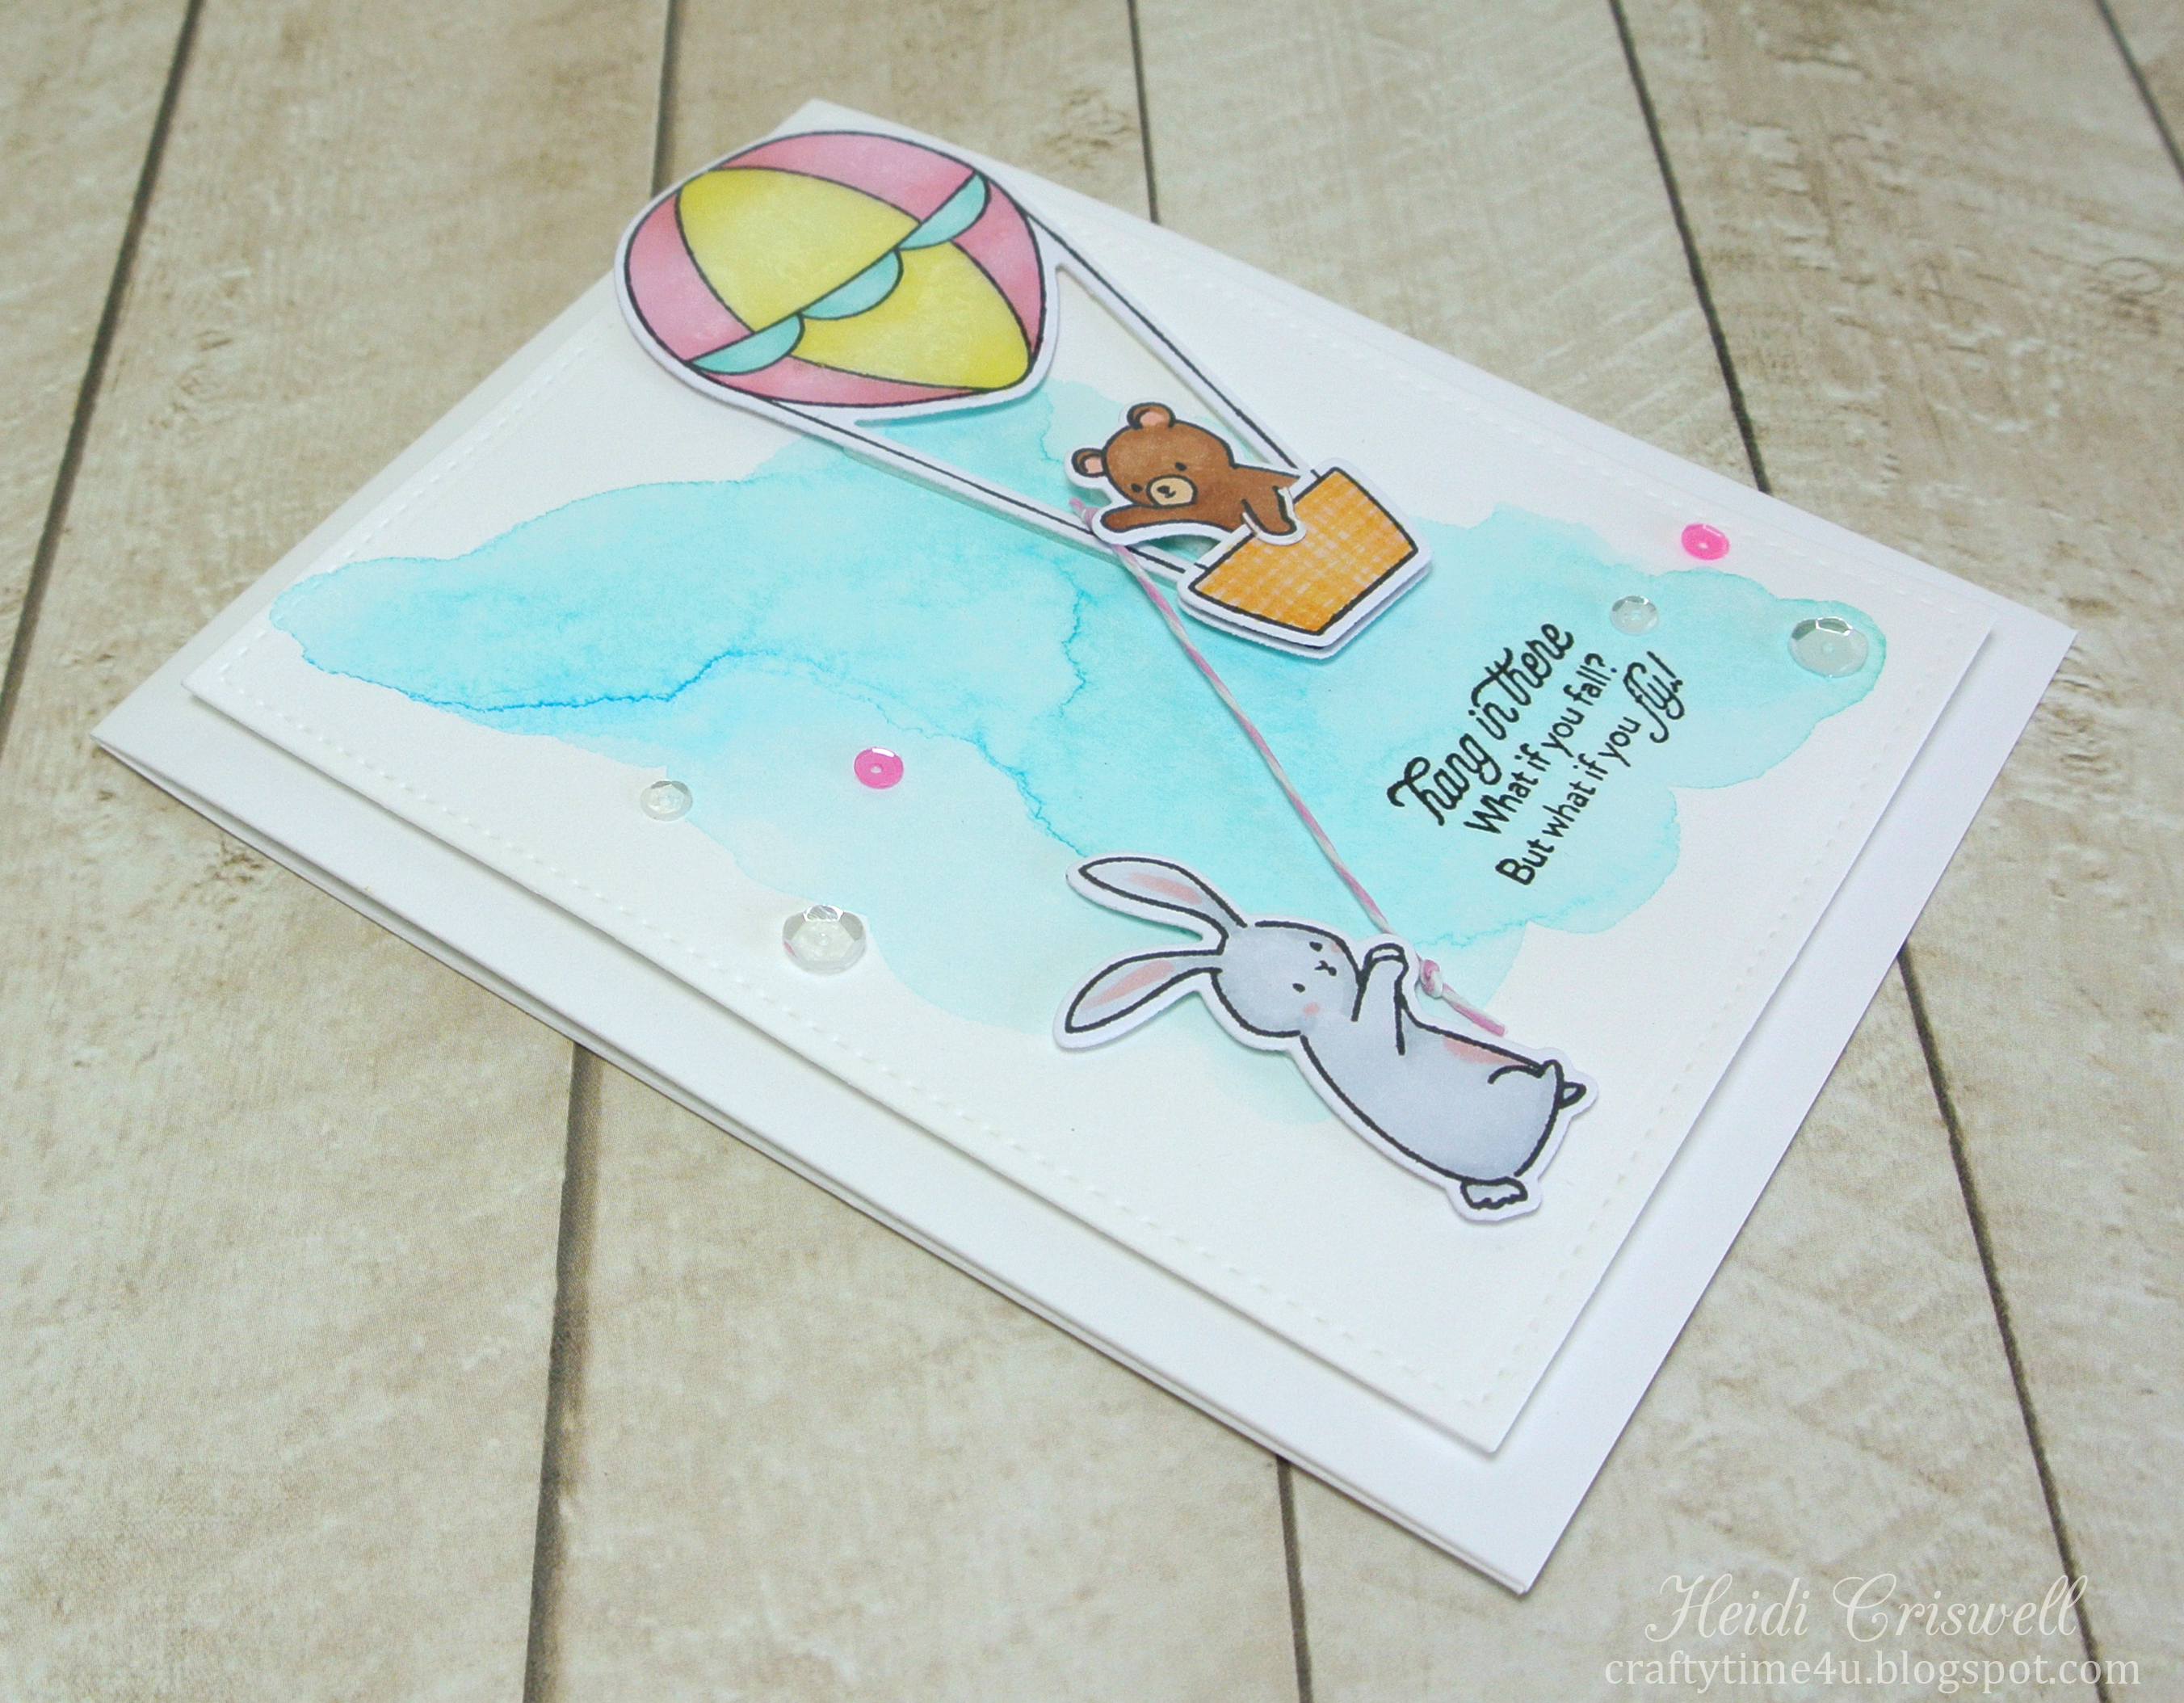
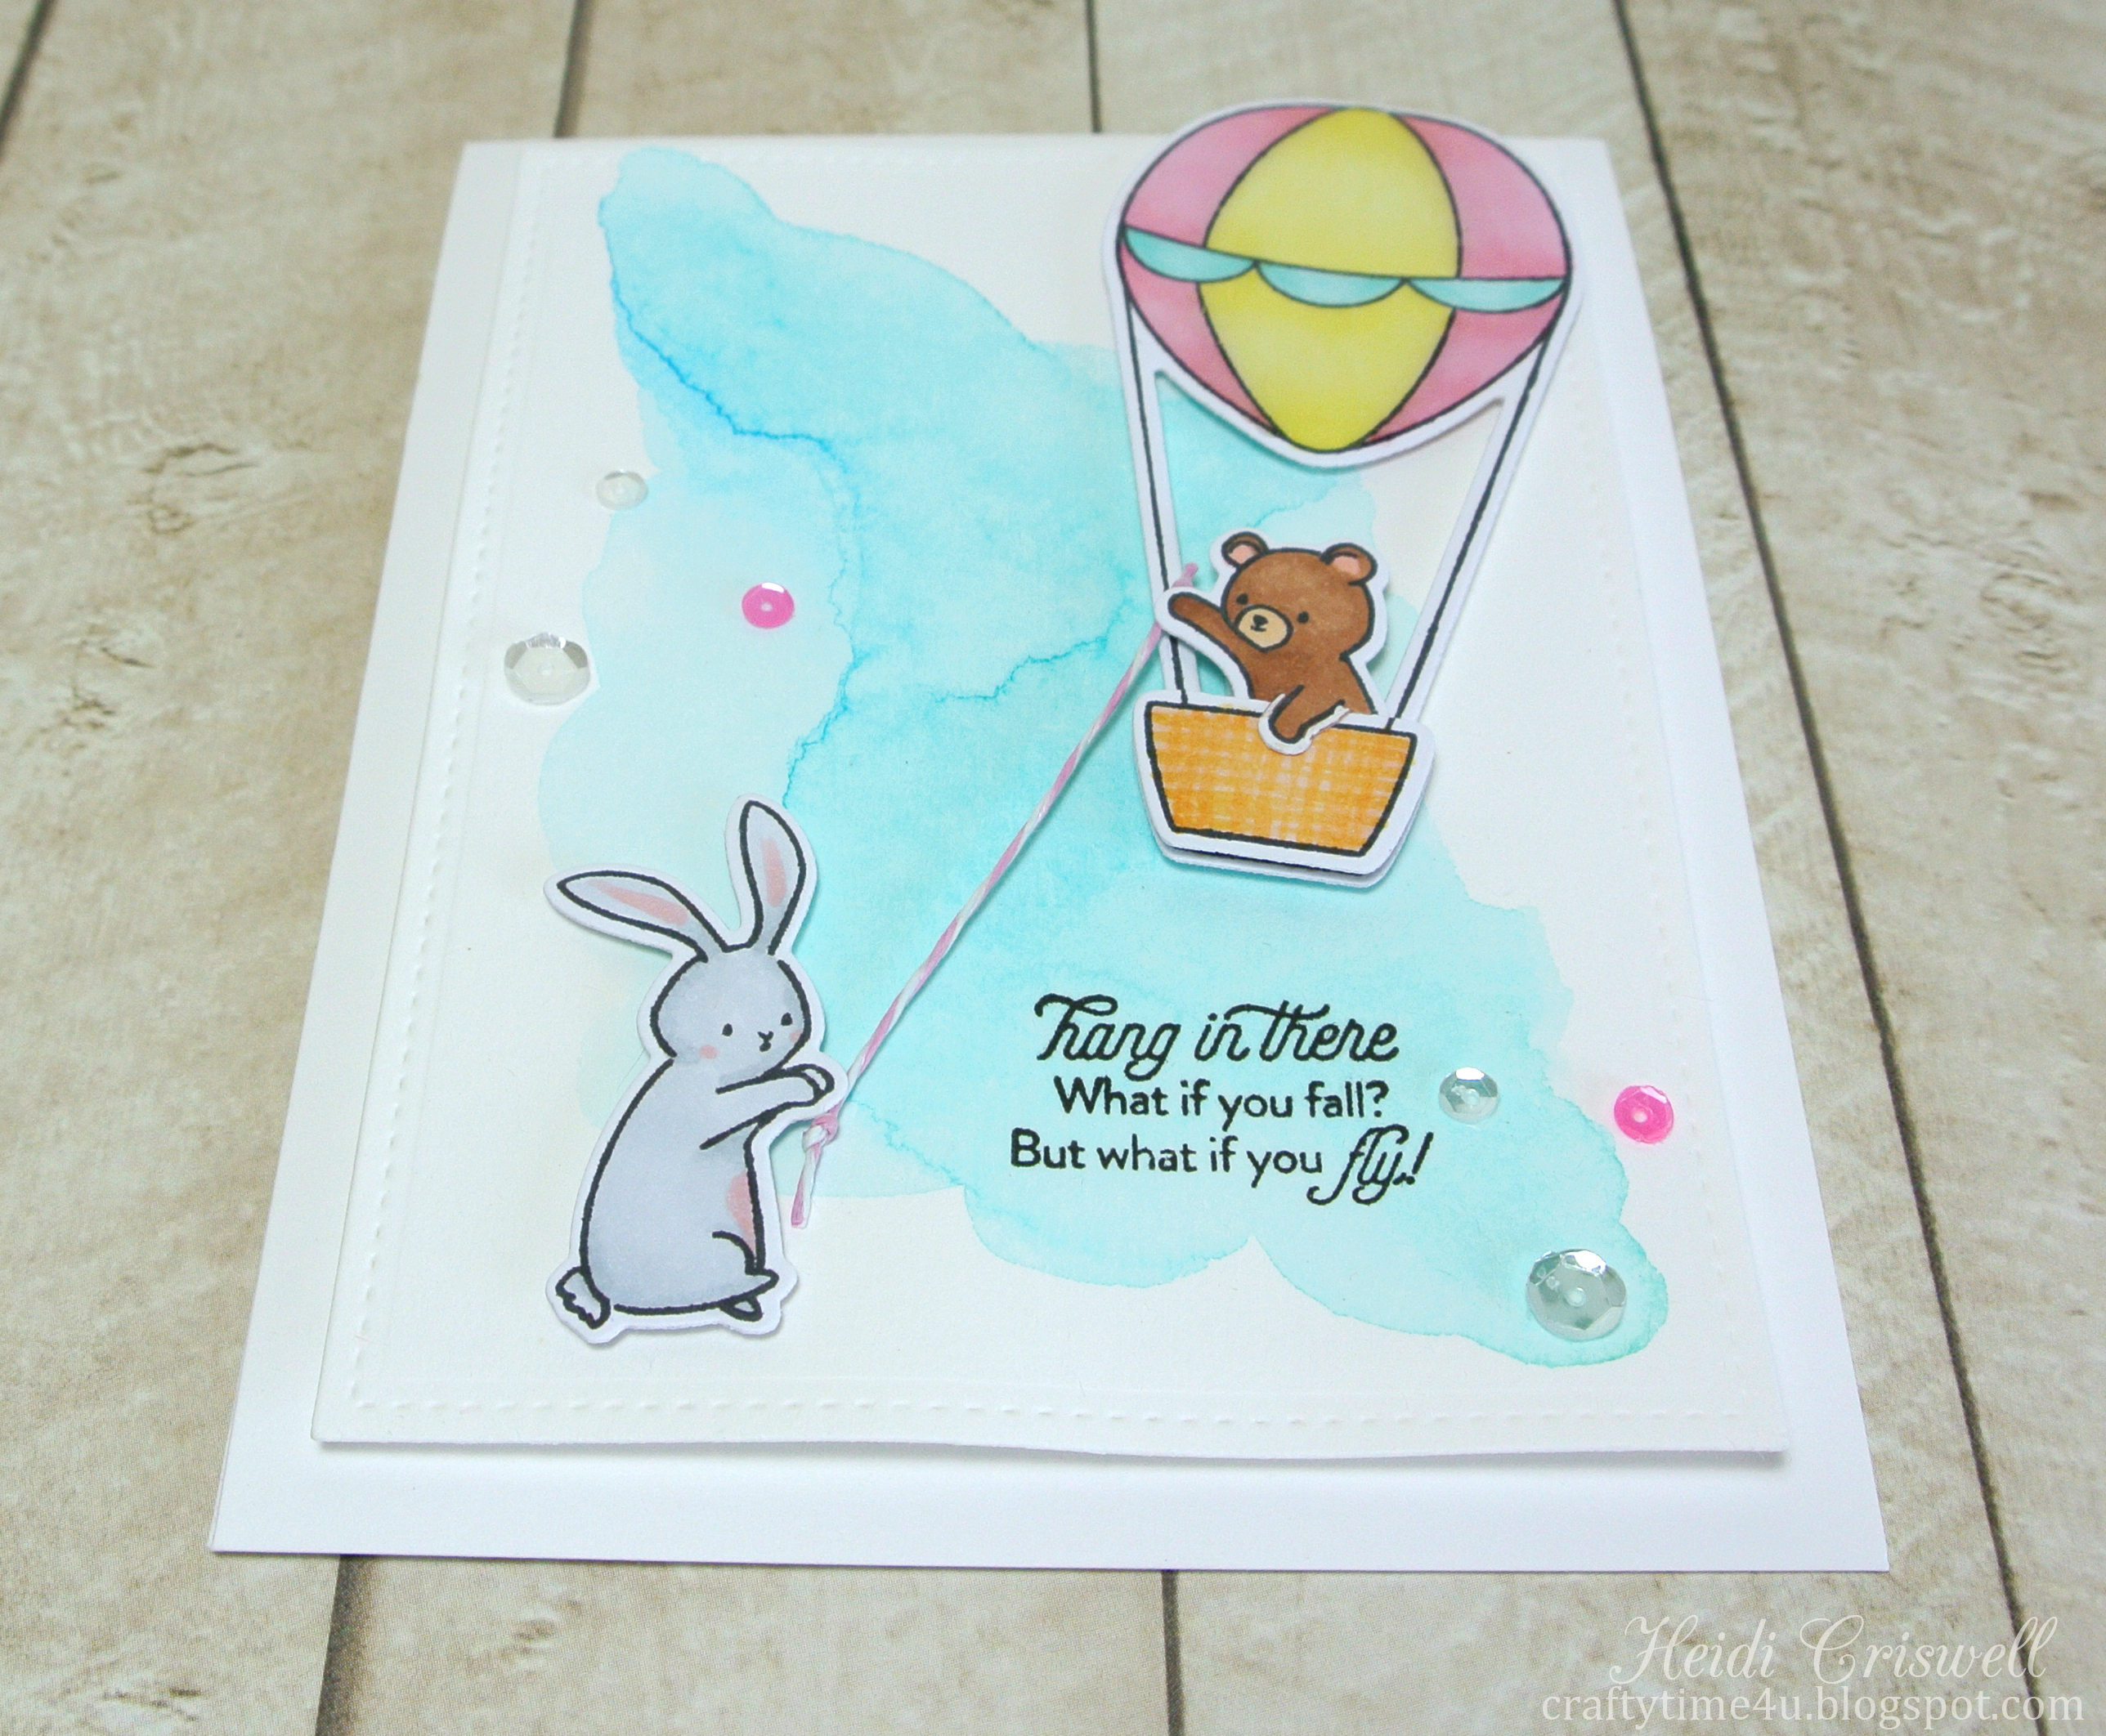
DSC_7760First, I created a watercolor washed background using Zig clear water colors real brush markers, for this background I used the No. 031 Cobalt blue, and the No. 042 Turquoise green. I colored all the diecut images with Copic markers using soft colors ( listed below).
DSC_7765I adhered all the die cut images using foam adhesive, I also used some glossy accents on the hot air balloon, I stamp the sentiment using Versafine Onyx black ink, and added some Pretty Pink Posh sequins as finishing touches.
DSC_7766I used some pink twine to for the bunny to hang on to the bear up in the hot air balloon, and I adhered the card panel to a white card base made of Bazzill Marshmallow card shoppe cardstock. 
Copic Markers that I used: E21, E23, E 25, RV11, RV13, Y11, Y13, BG11, BG13, C1, C3, R20.
Supplies:


Thanks so much for stopping by, I'll see you soon with more Crafty Time 4U!


I am affiliated to Amazon ( I receive a commission when products are purchased though links here at this blog at NO additional cost to you)