Showing posts with label Copic coloring. Show all posts

Tuesday, November 17, 2015

Harvest Happiness Card Featuring Sunny Studio Stamps

Hello everybody welcome back to Crafty Time 4U, today I am at the Sunny Studio blog, sharing more inspiration using the "Harvest Happiness" stamp set. With the Thanksgiving celebrations approaching this stamp and coordinated die set are a must have for all your card and projects.  I hope you'll enjoy the card that I created to share with you today.

I stamped and colored the cute little owls and the pumpkin pie with Copic markers and I die cut them using the coordinated dies. Then I die cut some frames using some dies that I have on hand to set the scene for my images and sentiment.

I used distress inks to blend a subtle background, and place all of the images using foam adhesive.

The Harvest happiness stamp and coordinated dies are available at the Sunny Studio Stamps shop.   We love to see your creations using Sunny Studio Stamps so don't forget to tag your work using the #SunnyStudioStamps

Have a lovely day! 

Thanks so much for stopping by, I'll see you soon with more Crafty Time 4U! 


Monday, November 16, 2015

Lawnscaping Challenge No. 118, In With The Old


Hello everybody, welcome back to Crafty Time 4U, I hope you had a great weekend! We have a new Lawnscaping Challenge at Lawnscaping blog: Lanscaping Challeng No. 118 "In with the old" sponsored by Lawn Fawn
I created this card using the "Sweet Christmas" stamp set by Lawn Fawn, it is a set from few years ago, but still super cute! 

For this card, I stamped and colored all the images using Copic Markers and then I die cut them using the coordinated die. The striped paper I used on the side of the card is the little half and inc piece that comes on the 12x12 Lawn Fawn paper. I heat embossed the sentiment using white embossing powder and I assembled the card using foam adhesive.  I create the snow detail using the Marvi snow marker. 

I hoped you enjoyed this card and that you enter our current challenge.
Have a lovely day!

Thanks so much for stopping by, I'll see you soon with more Crafty Time 4U


Thursday, November 12, 2015

Holiday Card Featuring MFT Stamps

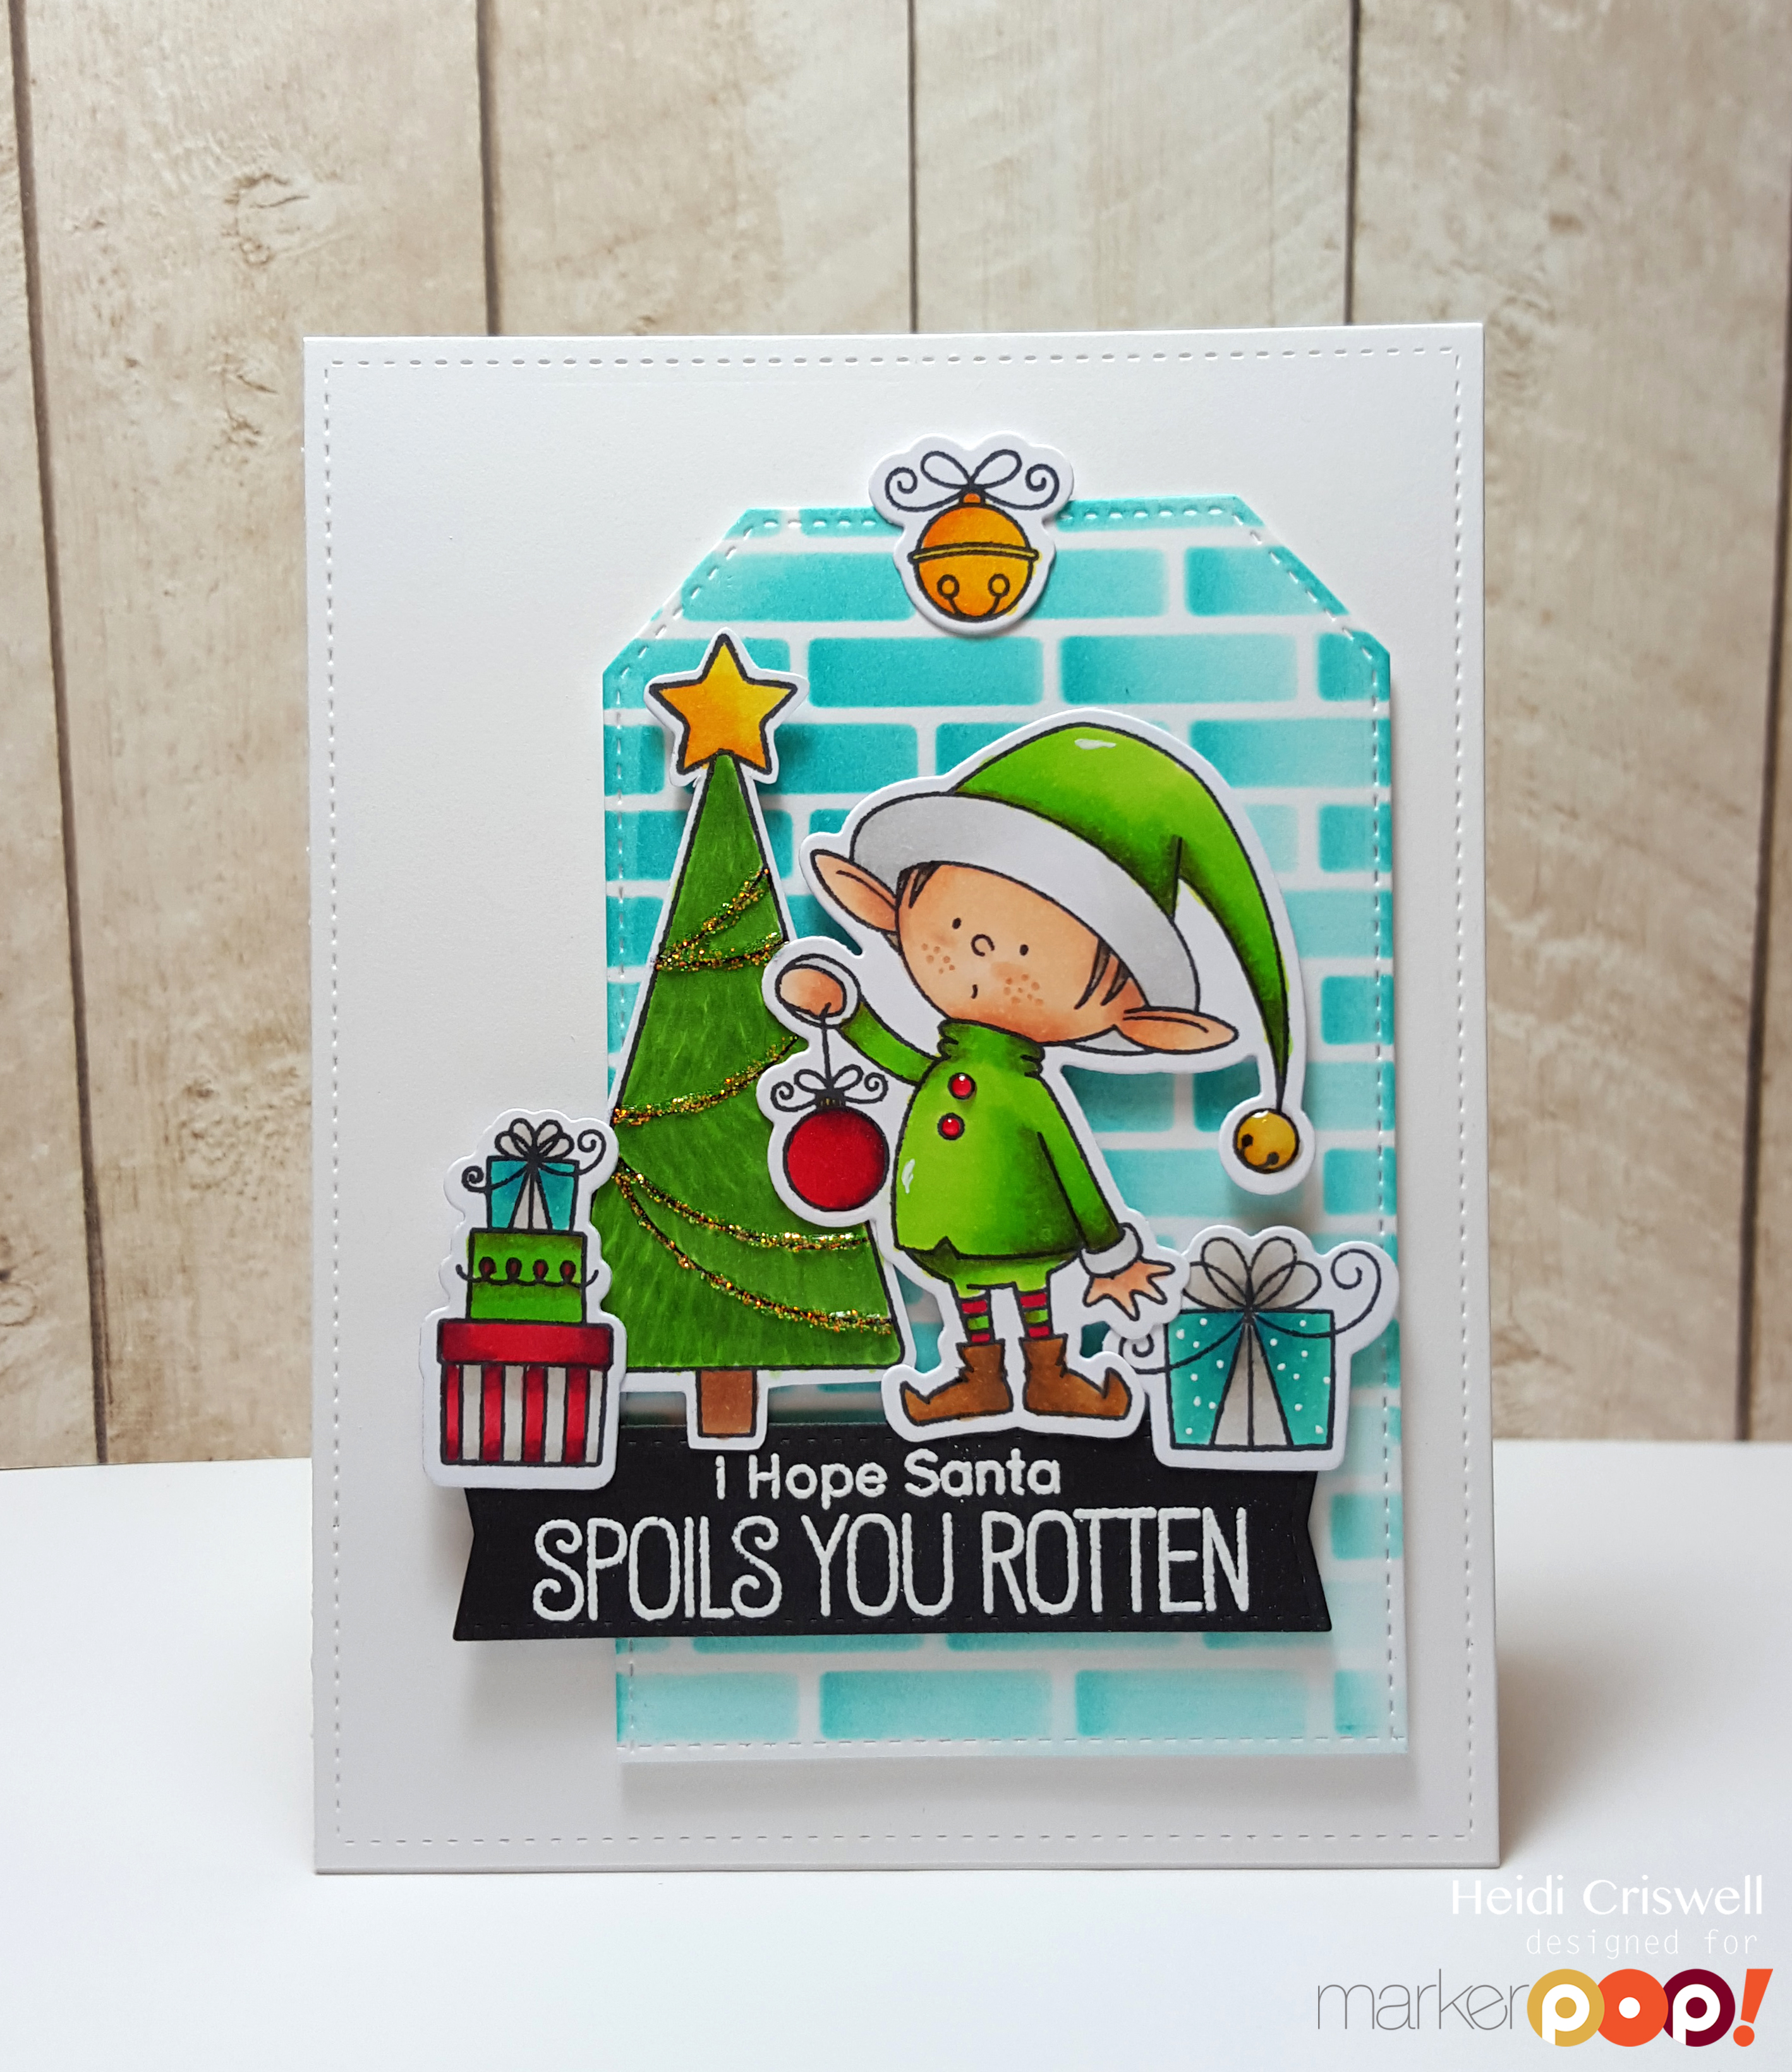
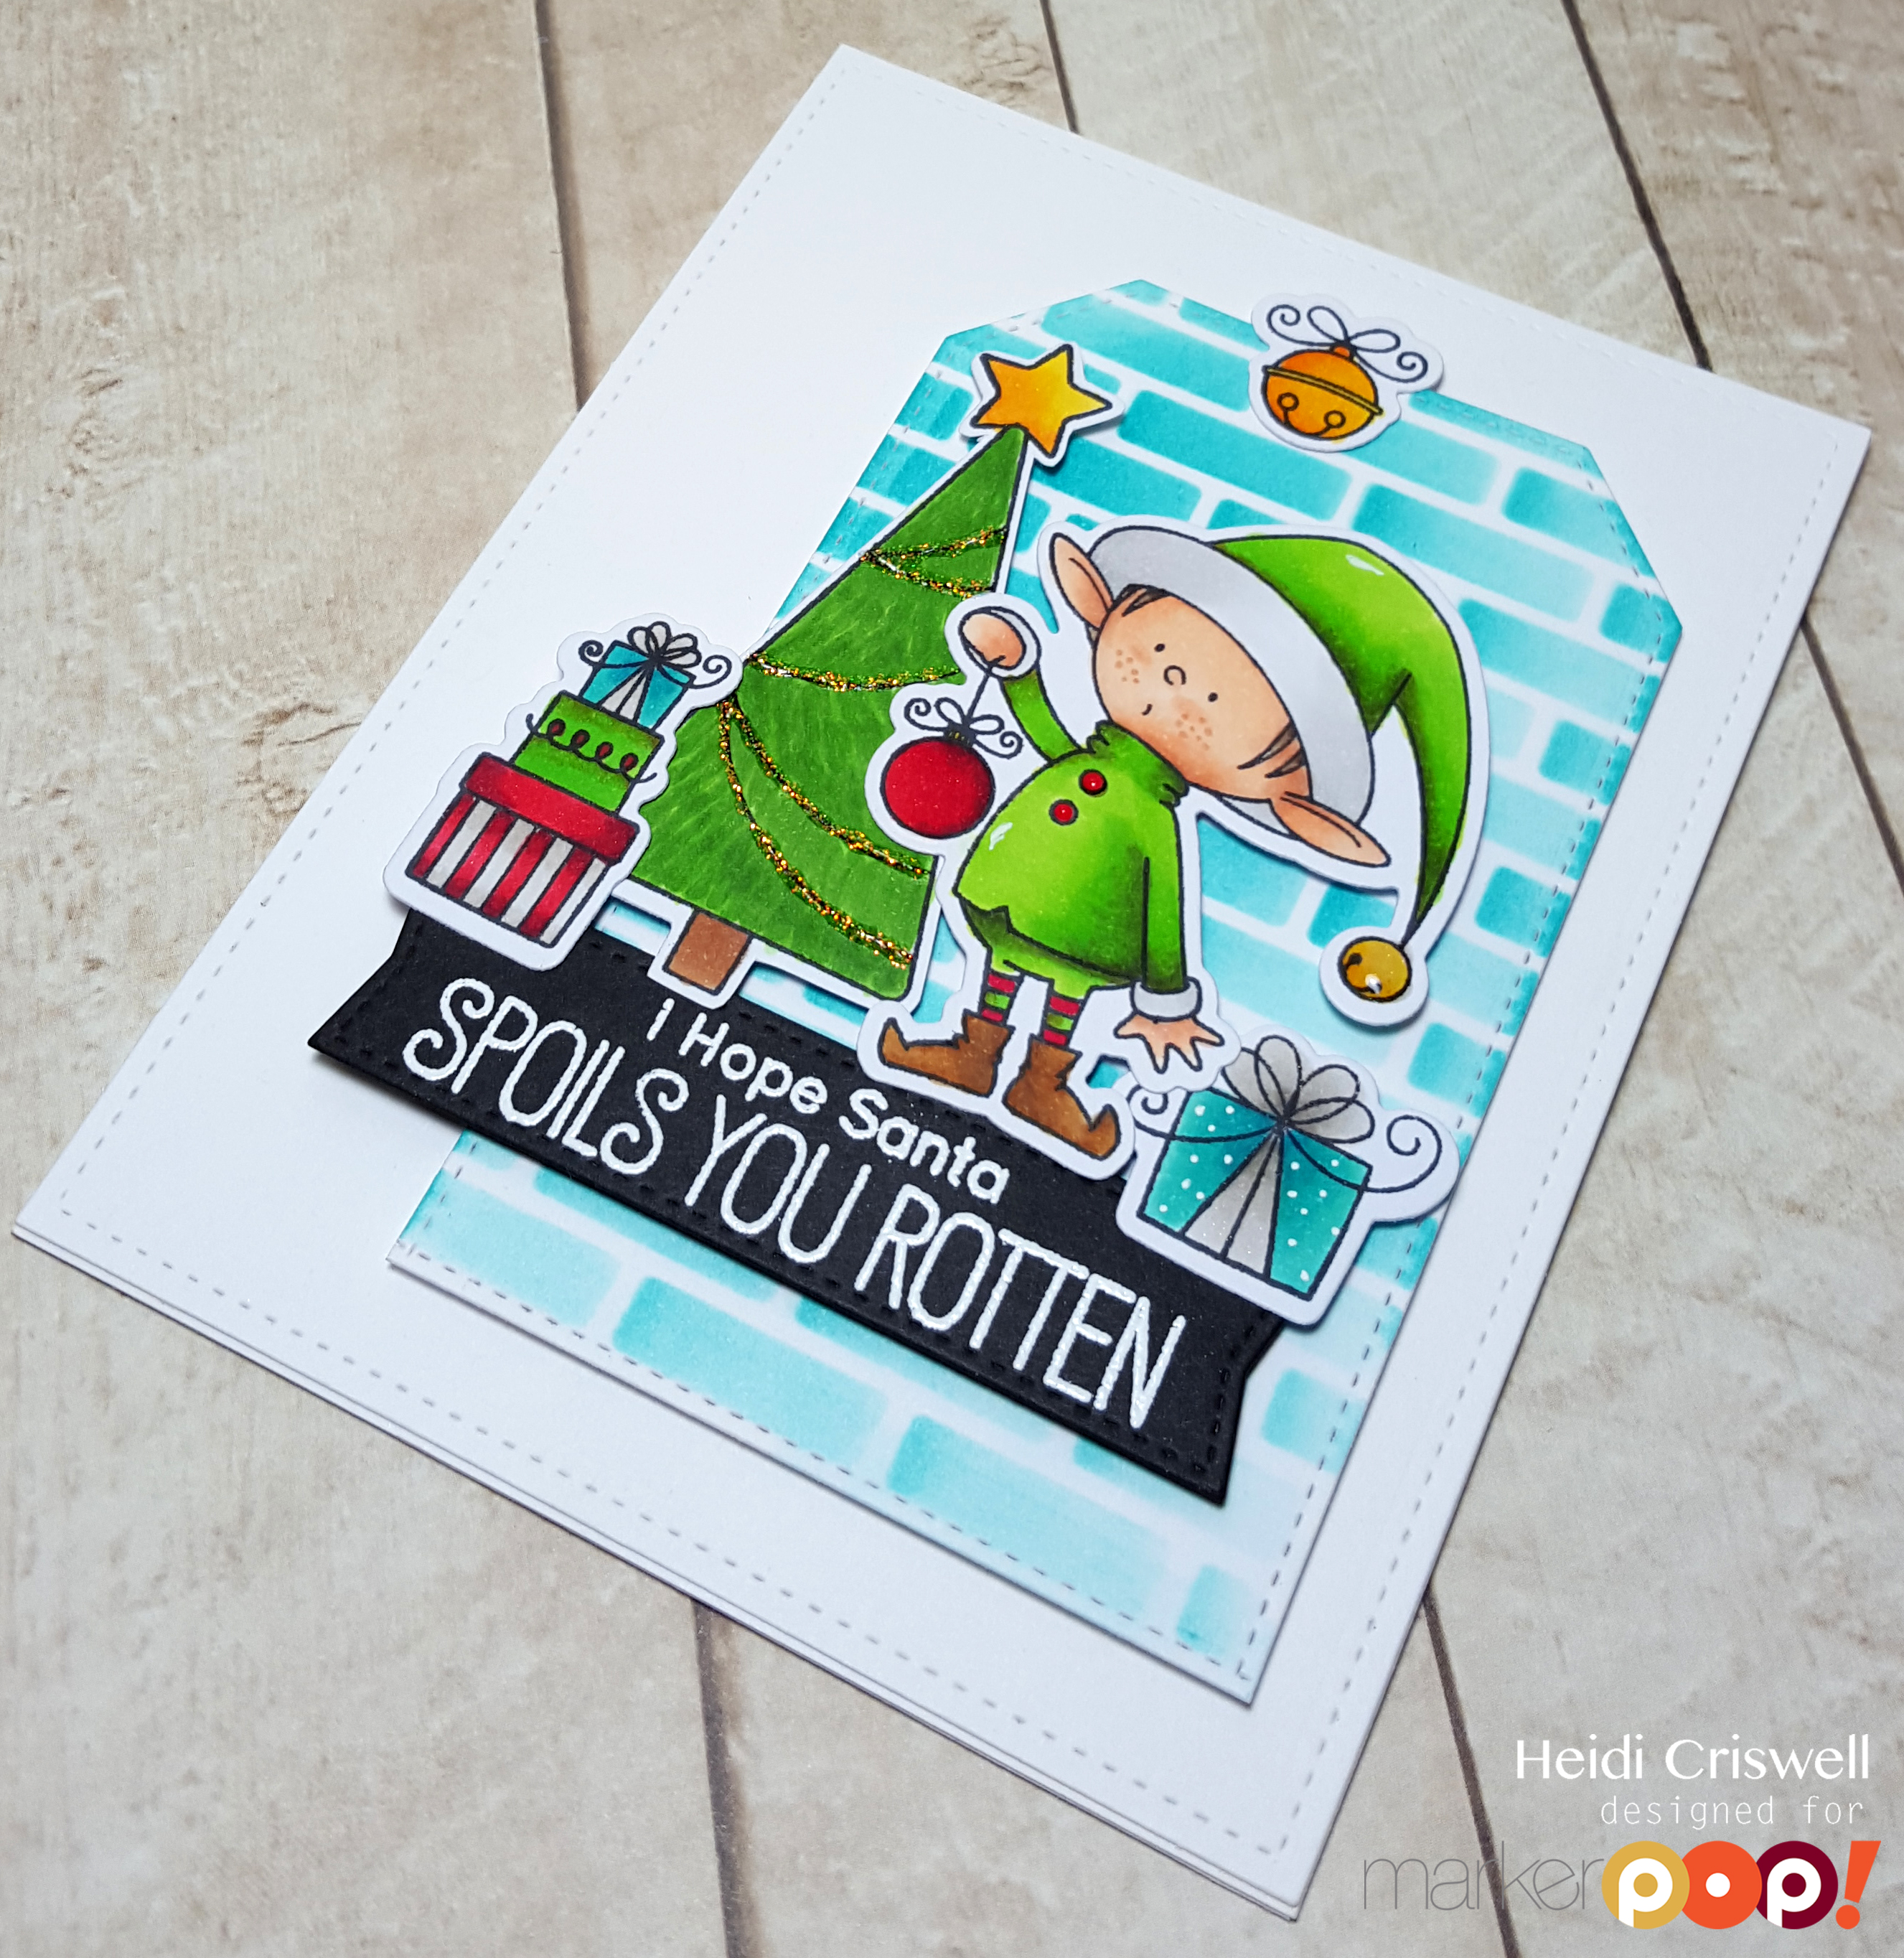
Hello everybody, welcome back to Crafty Time 4U! Yesterday I was at the Marker POP blog sharing with you some holiday inspiration using the “Santa’s Elves” stamp and coordinated die set by My Favorite Things. I love everything elf related and this adorable set is not the exception!
Let me show you the card and I will be telling you a little bit more about how I created this card
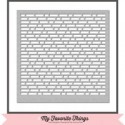
20151110_174530_001I cut a panel of white cardstock using the larger stitched rectangle by Lawn Fawn, then I cut the largest Dienamics stitched tag by My Favorite Things and I used the English Brick Wall stencil by My Favorite Things to created the background on the tag; I used “Peacock Feather Distress Ink” to ink the stenciled background.  
20151110_174630I die cut and stamped the images and then I colored them using Copic Markers, I heat embossed the sentiment on to black cardstock using white embossing powder, and I arranged the elements which I adhered to the card using foam and liquid adhesive.  To finish the card I added some gold ‘Stickles‘ to the trim of the tree, some Wink of Stella, and some Ranger glossy accents 
Copic Markers that I used: YG97, YG07, YG05, E00, E02, E13, R89, R27, R24, BG49, BG15, BG13, T02, T00, E27, E25, E57, W01, W03, W05,

Supplies:


Thanks so much for stopping by, I’ll see you soon with more colorful inspiration

Friday, October 30, 2015

Lawnscaping Challenge FIT Blog Hop Inspired by the Color Orange


Hello everybody, welcome back to Crafty Time 4U, I hope you had a great week and that you are getting ready for a weekend full of crafty and Halloween fun, if you celebrate Halloween, if you don't crafting sounds good! Today the Lawnscaping Challenge FIT are having our monthly blog hop, sponsored by Ink Road online store. This month we are  inspired by the color orange.
I hope you'll like the card that I made for you today and that you hop along with us to see the rest of the lovely projects the Lawnscaping Challenge Facebook Inspiration Team have for you! By hopping with us today you have the chance to win a $25 gift card from our sponsor Ink Road online shop, just leave a comment along each of the participant blogs and you be entered.

For this card I used the "Happy Harvest" (wagon, crows, and pumpkins) and the "Thankful Mice" stamp and die sets by Lawn Fawn. I also used the largest of the "small stitched rectangles" and the second largest of the " Large stitched oval" die sets also by Lawn Fawn.

I also use paper from the 12x12 "Let's polka in the dark" collection by Lawn Fawn. I stamped and colored all the images with Copic Markers and I did pop them up with foam adhesive over the stitched oval, which I lightly shaded with distress inks. I adhered my panel directly over an orange card base. 

I hope you enjoyed this card and that you have fun and get inspired with this blog hop. 
You should have come from Jess blog and this is your last stop, below is the whole line up in case you started here, have a lovely weekend!

Kate: 

Thanks so much for stopping by I'll see you soon with more Crafty Time 4U!

Monday, October 26, 2015

Quick Halloween Cards Featuring Lawn Fawn


Hello everybody! welcome back to Crafty Time 4U, I hope you had a fantastic weekend full of crafting fun! Today I am sharing with you some quick Halloween inspiration at the Lawnscaping Challenge blog. Halloween is around the corner, so I decide to come out with something that would be quick and easy to do, so if you don't have time or need some last minute cards, this inspiration is for you. Also if you haven't enter our current Lawnscaping Challenge, "Too Cute to Spook" sponsored by Lawn Fawn, you can do so HERE

I cut some 4 7/8 by 3 1/2 note cards out some white cardstock and I added a piece of Lawn Fawn "Let's Polka in the dark" petite patterned paper to cover the whole front of the note card. Then I used the small "stitched party banners" die to cut a banner out of white cardstock. I created a pattern by stamping some of the little images from the "Spooktacular" and "critters in costume" stamp sets. I colored the little patterns using Copic Markers.


I stamped and diecut the cat, and the bunny in the pumpkin from critters in costume, and the bat from "Spooktacular" along with couple more bats from the "trick or treat" mini set, and I poped them with foam adhesive. Then I stamp and embossed the sentiments, and finally added some twine to the top of the banner and I tied a bow. 

I hope you enjoyed these cards and that you enter our current challenge: Too cute to spook! 
Have a wonderful week!

Thanks so much for stopping by, I'll see you soon with more Crafty Time 4U!


Wednesday, October 21, 2015

Have a Mice Christmas, Featuring Mama Elephat

Hello everybody welcome back to the Crafty Time 4U! Today I'm at the Marker POP blog with some holiday inspiration featuring "Festive Mice" stamp and die set by Mama Elephant, I also used the "Snow cape mountains" Creative cuts" also by Mama Elephant! I'm absolutely in love with the latest Mama Elephant release, and you will see more Mama Elephant inspiration from me, in the days to come. Let me show you the card that I made, and I will be telling you more about it.
 DSC_8135For the background I used a brick stencil from My Favorite Things and I randomly inked some spots using Fire Brick distress ink. I created the window using the My Favorite Things Blueprints No.20, and I used a snow stencil for the outside background with some embossing paste. For the sky background I used "Salty Ocean" and "Chipped Sapphire" distress inks. The cut the snow cape mountains from craft card stock and the snowy tips from white card stock.
DSC_8138I stamped and colored all the images using Copic Markers, some of them I die cut using the coordinated dies, and some others such as the lights I fussy cut. The two little presents are from the "Reindeer Games" stamp set also by Mama Elephant. I arranged and adhered all the elements using some foam adhesive and liquid glue, I used white gel pen to add some detail to the mouse's pajamas and the tree, some glossy accents on the lights, and some Wink of Stella on the presents.
I hope you enjoyed this card and that you would check out the adorable new Mama Elephant release at the Marker POP store  

Thanks so much for stopping by, I'll see you soon with more Crafty Time 4U!

Tuesday, October 20, 2015

Furever Friends Fiendship Card

Hello everybody, welcome back to Crafty Time 4U, today Im at the Sunny Studio Stamp blog introducing the new “Furever Friends” stamp set and its coordinated die set.  If you are a cat lover or you have friends or family who love cats, or if you simply want to send friendly greetings to any of your friends, this is the perfect set for you. I had lots of fun coloring these kittens, they are adorable!

 I created this adorable night scene with these two kittens, by blending a night sky whit distress inks and then I sprinkled with white ink to create the appearance of starry sky. I adhered the die cut pieces using foam adhesive. I heat embossed the sentiment using white embossing powder and finally I adhered the panel to a white card base.


I hoped you enjoyed this card using the “Furever Friends” stamp set, visit the Sunny Studio Stamps blog this during this whole week for more for more inspiration using this adorable stamp set. Don’t forget to share all your projects on social media using the #SunnyStudioStmaps so you could be feature on our Sunny Saturday Share.

Thanks so much for stopping by, I'll see you soon with more Crafty Time 4U!


Wednesday, October 14, 2015

Polaroid Halloween Card Featuring Mama ELephant

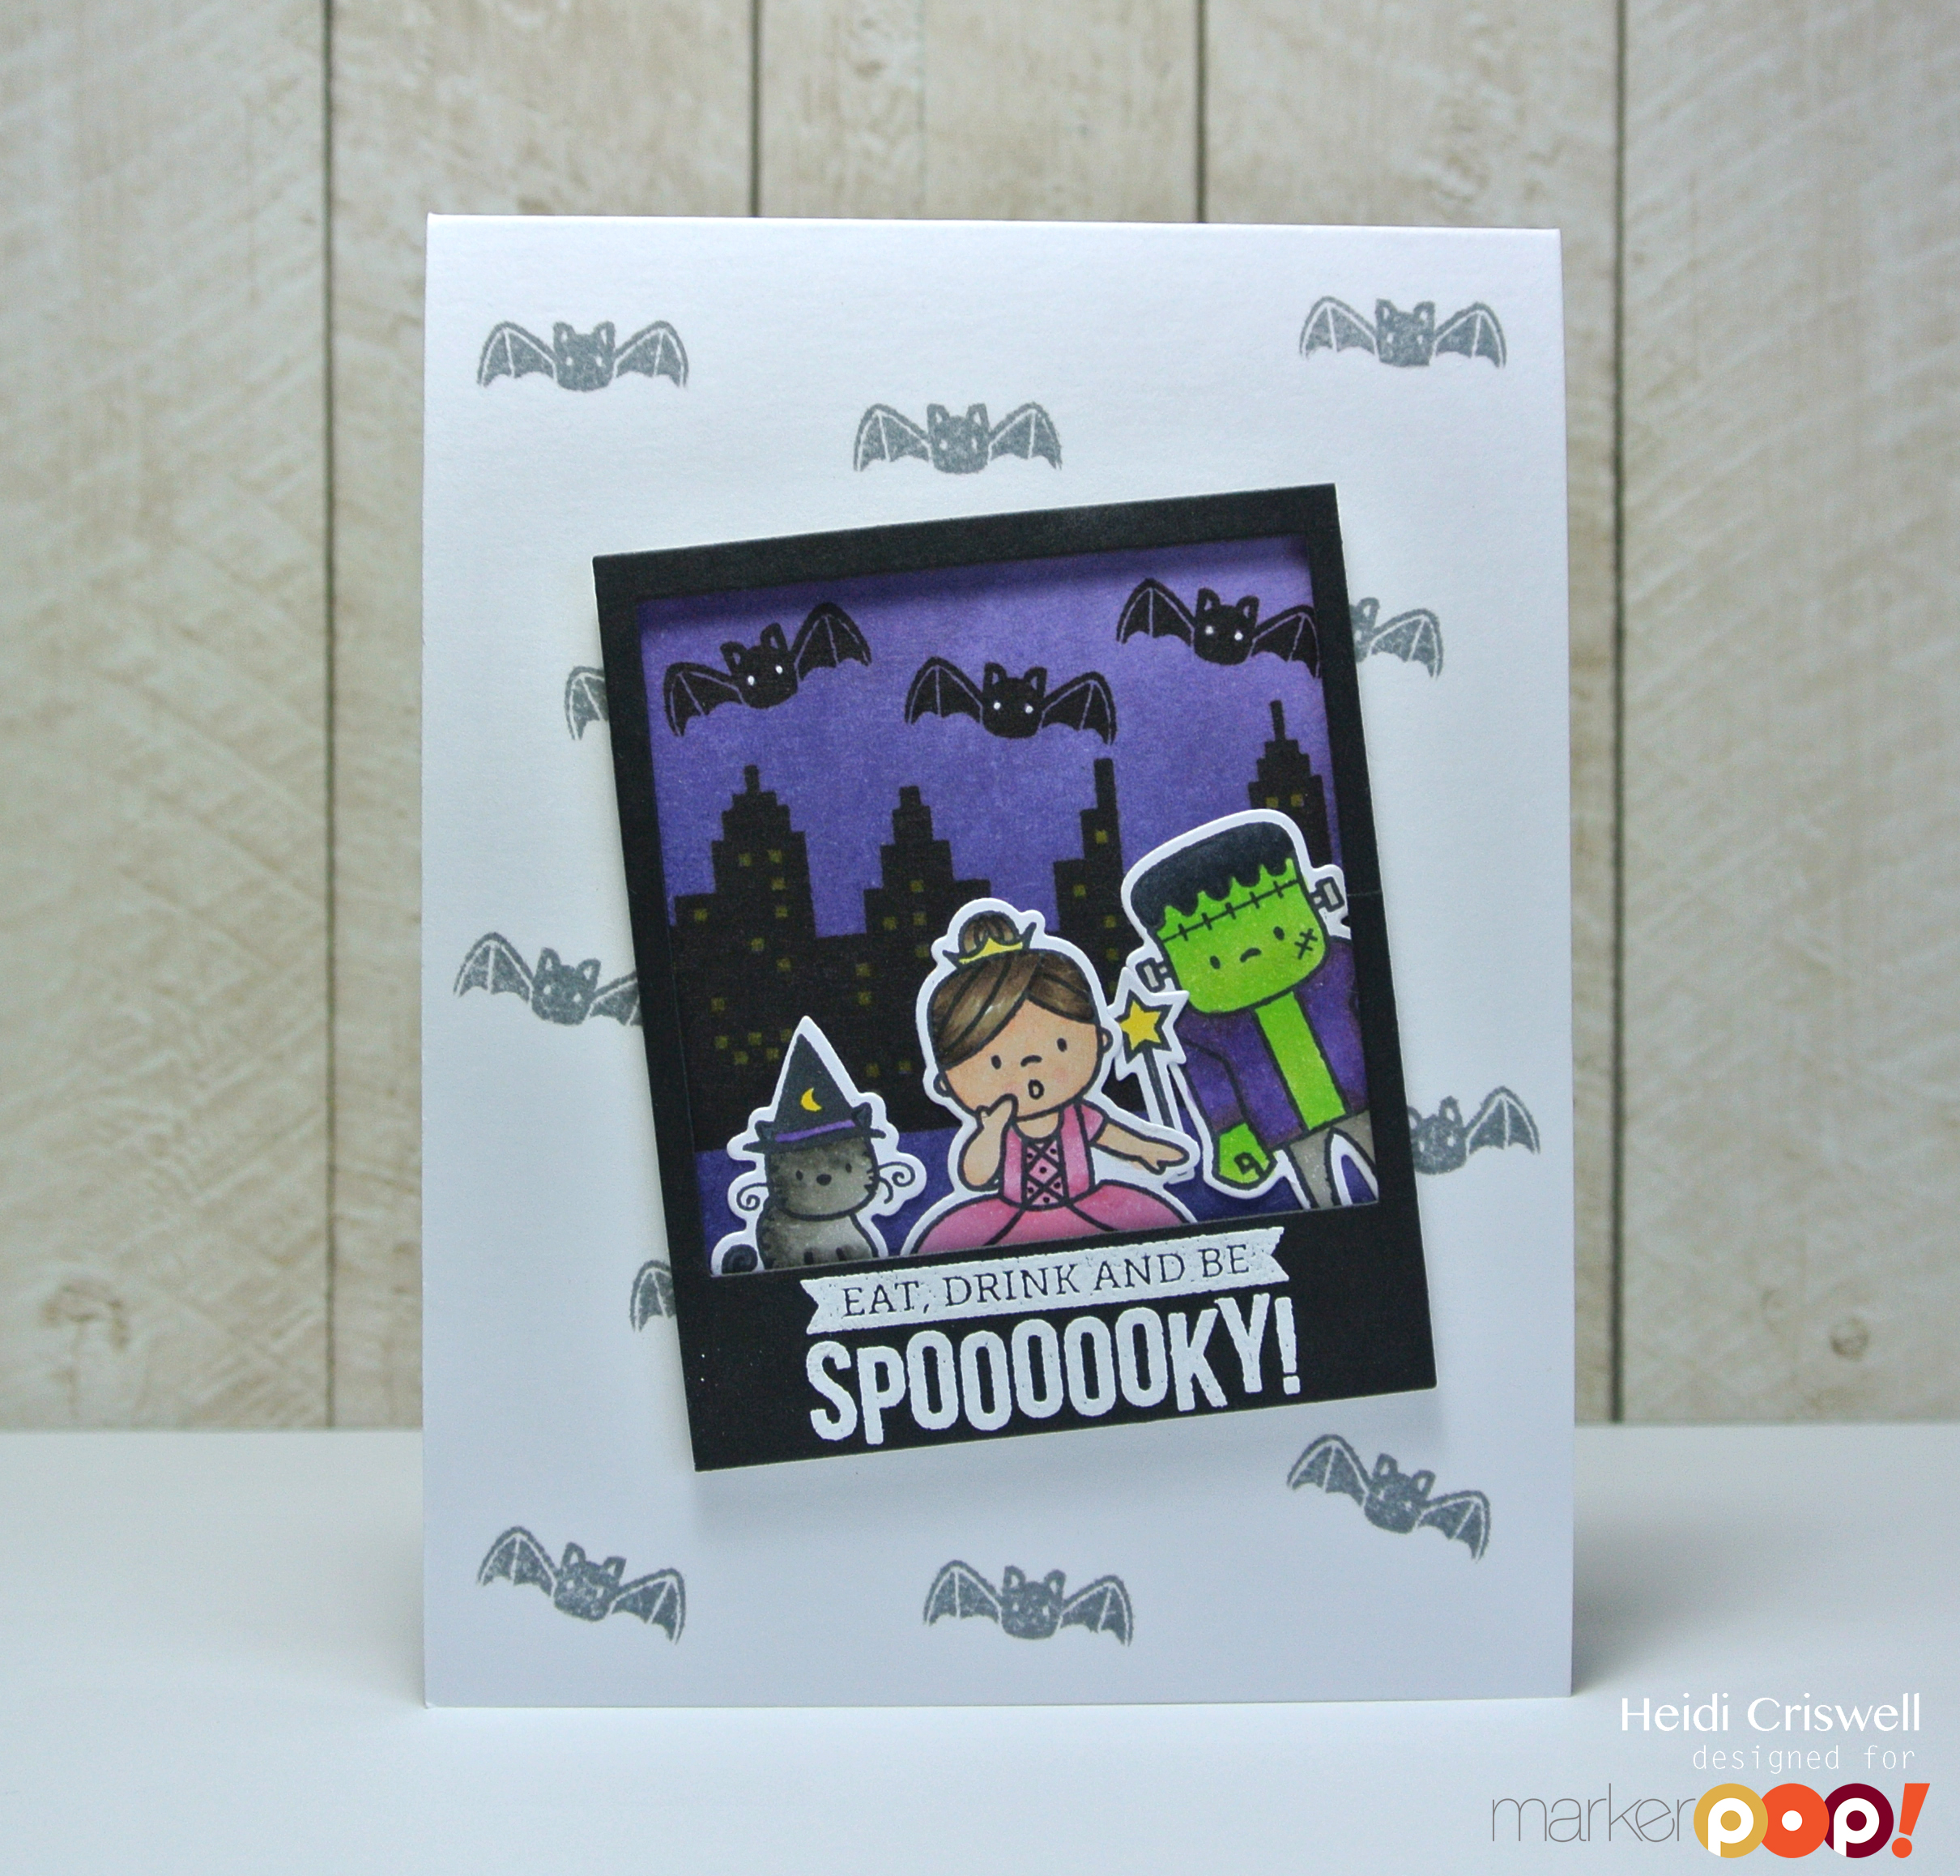
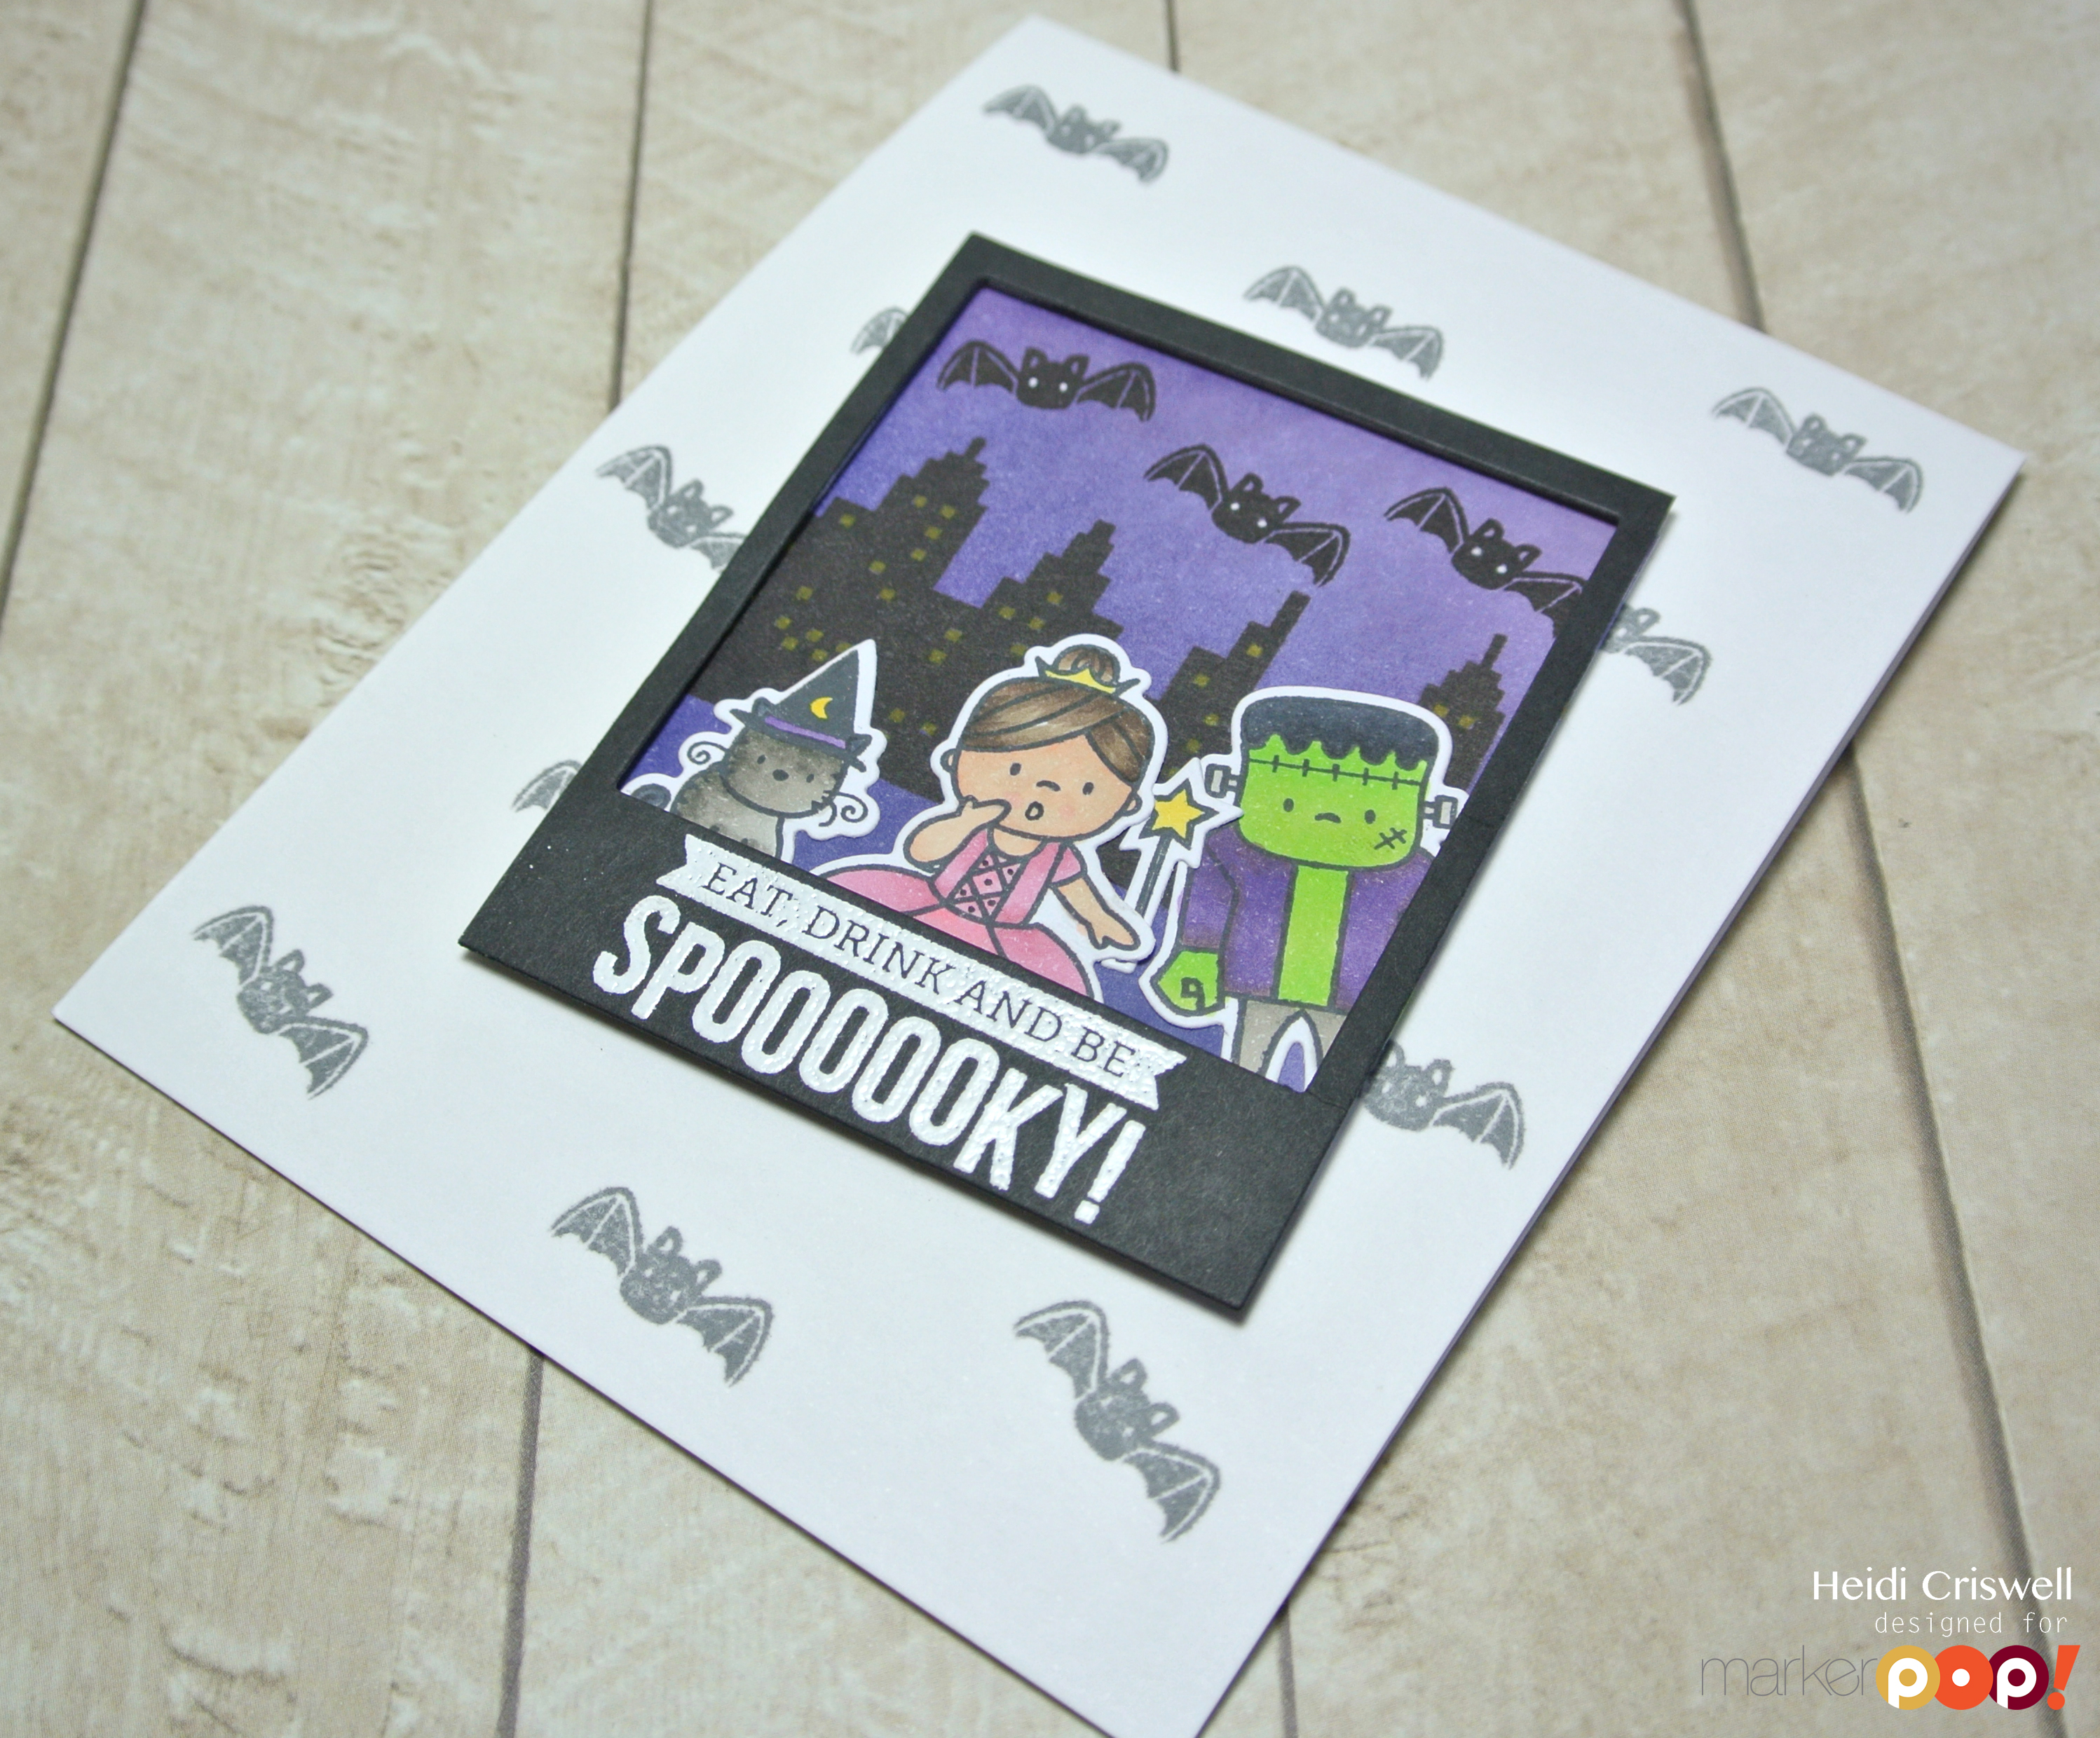
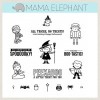
Hello everybody, welcome back to Crafty Time 4U, today I'm at the Marker POP blog with with more Halloween inspiration. I made a card featuring the Mama Elephant "Bootastic" stamp set, which is one of my favorites for Halloween projects.
I wanted to created the impression that the girl with the princess costume is getting photo bombed by the boy in the Frankenstein costume, so I draw the little open mouse on the girl, I hope you'll like the idea, let me show you and tell you a little bit more about it!
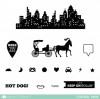
DSC_8108To created the Polaroid I blended a deep purple background using "Dusty Concord" and Chipped Sapphire" distress ink, and stamp the sky line form the "Central Park" stamp set, (you could used the "Cityscape" Creative cut by Mama Elephant instead of the stamp, I added it to the list of supplies just in case). 
DSC_8112I stamped, colored and die cut the images which I adhered to the blended background using liquid glue. Then I used the Mama Elephant creative cuts "Polaroid fun" to frame scene. I wanted the Polaroid to be the focal point of the card, so the background of the card is muted with some grey bats, on the white card-stock base.  
DSC_8114Finally, I heated embossed the sentiment using white embossing powder,and adhered the Polaroid to the front of the card. 

I hope you enjoyed this card and that you visit us again for more inspiration.

Supplies:
Thanks so much for stopping by, I'll see you soon with more Crafty Time 4U!