Showing posts with label 4th the July. Show all posts

Saturday, June 27, 2015

Colorful Saturday, Patriotic Treats


Hello everybody! Welcome back to Crafty Time 4U, I have been absence from my blog this week because, I was doing some little updates to my craft room, and it was impossible to craft in there, as I had to pulled everything out and changed tables and desks, and also new shelving on my closets, so total chaos. So I apologize for the lack of posts!

Today I'm at the Marker POP blog with a super fun project, I had lots of fun creating these treats, so I hope you'll enjoy them, I will tell you more as I show you the pictures. All supplies are listed and linked bellow.

I created these Patriotic Mini Milk Cartons, they are perfect for 4th of July treats.  
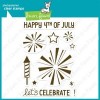
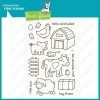
I cut the milk cartons using red cardstock and I stamped and heat embossed the smaller sparkle images from the "Happy 4th" Stamp set by Lawn Fawn, I used some glittery embossing powder. 


I created the piece of grass using "Distress Inks" and the "Grassy border" die by Lawn Fawn. I stamped and heat embossed the sentiment on the grass piece, using white embossing powder.
I colored all my images using Copic markers and I added a little bit of Wink of Stella clear glitter brush pen (well not a little, actually a lot! LOL)


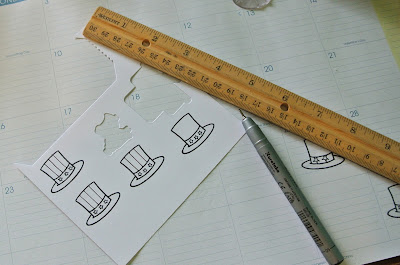
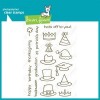
I stamped the tall hat from the "hats off you" stamp set, and I used a star from the "Plus One" set, however, the Lawn fawn sets are full of little stars that you could use for this. them I used a ruler and a Copic multiliner to trace lines. 

Copic Marker I used: B28, C1, C3, C5, C7 E33, e35, E37, E 23, E25, E27, R20, R24. R27, R37, Y19

Suppplies:


Thanks so much for stopping by, I'll see you soon with more Crafty Time 4U!

Wednesday, June 3, 2015

Patriotic 4th the July Card Using Sequins


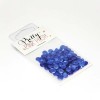
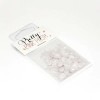
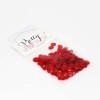
Hello everybody! Welcome back to Crafty Time 4U, today I'm at the Marker POP blog, sharing with you a photo tutorial of a patriotic 4th the July card, that I created using Pretty Pink Posh Sequins, "I wish you were here" dies, the largest form the small set of "Stitched rectangle dies," and the "Happy 4th" stamp set by Lawn Fawn.
Aren't the colors of our flag beautiful? I personally love this combination!
It's is a very simple and fun to make card, just let the sequins be the start of the show.
All the supplies are listed and linked below
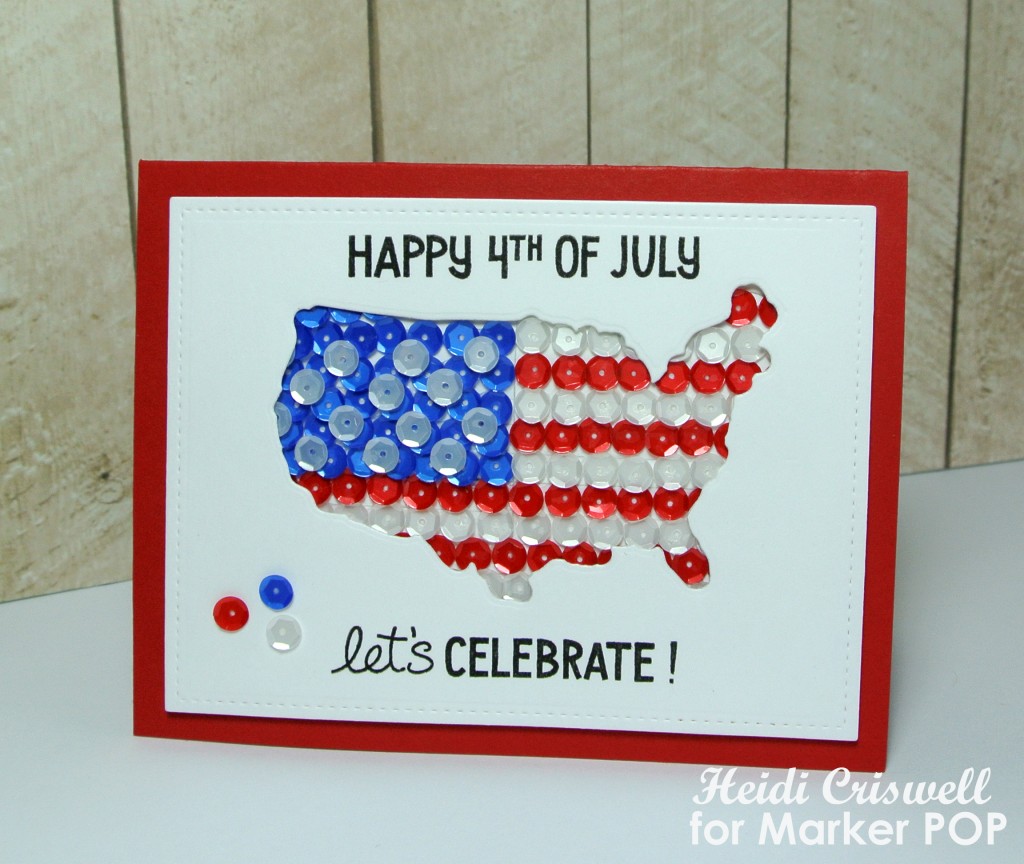
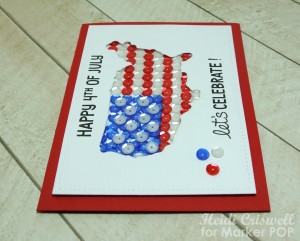
Here is the final picture of my card
Here is is the card that I'm sharing with you today and I will show you how I make it with the photo tutorial below
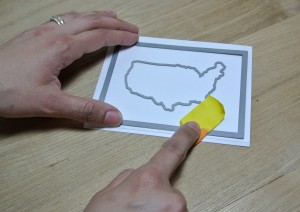
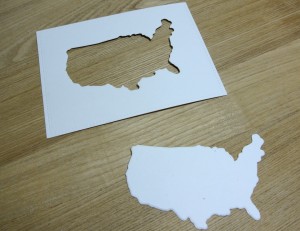
First I die cut the stitched rectangle die and the United States outline map.
You will need both negative which will be your card front and the positive that will help you trace the place where the sequins will be.
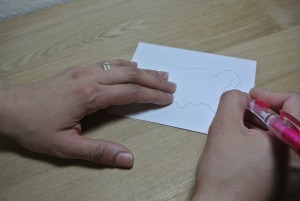
Then I used the positive part of the map to trace the map on another piece of white cardstock, smaller than my panel.   I traced it about a 1/4" away from the map out line. this doesn't have to be perfect!
Then I used the positive part of the map to trace the map on another piece of white cardstock, smaller than my panel. I traced it about a 1/4" away from the map out line. this doesn't have to be perfect!
You will end up with a sketch like this.
then I used a strong adhesive to adhere the sequins to the piece of cardstock. I used my T-ruler to make sure my stripes were aligned.
I stamped the sentiments from the "Happy 4th" stamp set by Lawn Fawn and added few sequins on the outside to represent Hawaii and Alaska.
I adhered the negative die cut panel using foam adhesive
Supplies:
Thanks so much for stopping by, I'll see you soon with more Crafty Time 4U