Pages

Wednesday, September 30, 2015

Peek-a-boo Window Card Featuring MFT Stamps

Hello everybody, welcome back to Crafty Time 4U, today I'm  at the Marker POP blog, sharing with you a peekaboo card using My Favorite Things Stamps and Dienamics
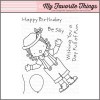
The holidays are around the corner but I still have birthdays and other special occasions to go to and to make cards for, so today's card can be used for a birthday or encouragement for friend, child, or coworker. I think I mentioned before, that I really didn't like clowns so much, until this adorable "Pure Innocent" set came along. This is the most adorable clown I ever seen! Let me show you the card that I made and I will tell you a little bit more about it.
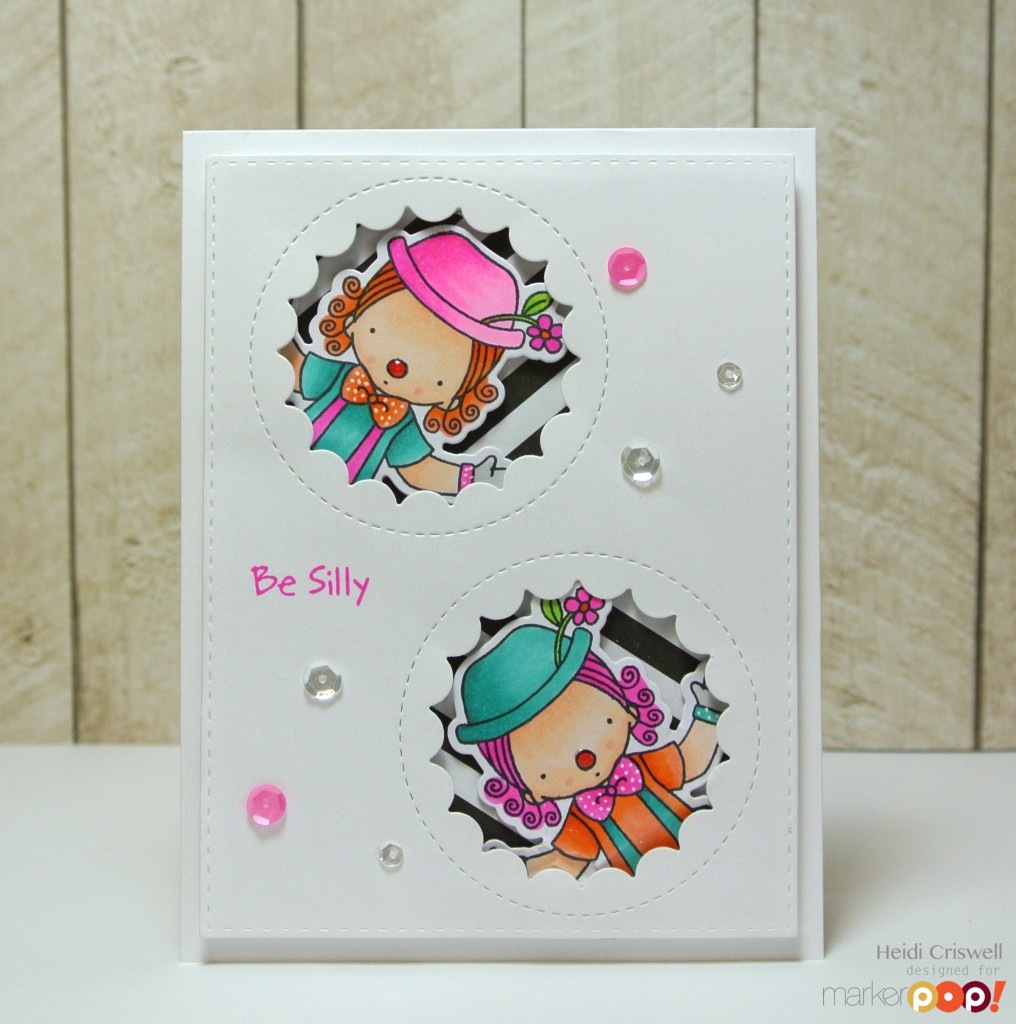
DSC_7950For this card I used the "Pure Innocence Clowning Around" stamp and coordinated Dienamic set, the "Peek-a-boo circle Dienamics" and the stitched rectangle panel from the "Blueprints No.24" 

DSC_7951I die cut and stamped the little clowns using "Memento Tuxedo Black" ink and them I colored them using Copic Markers. I used a blue-green, orange, and pink color palette, which I thought it was pretty fun for a cute little clown, and I added details on the bows, using a white gel pen .
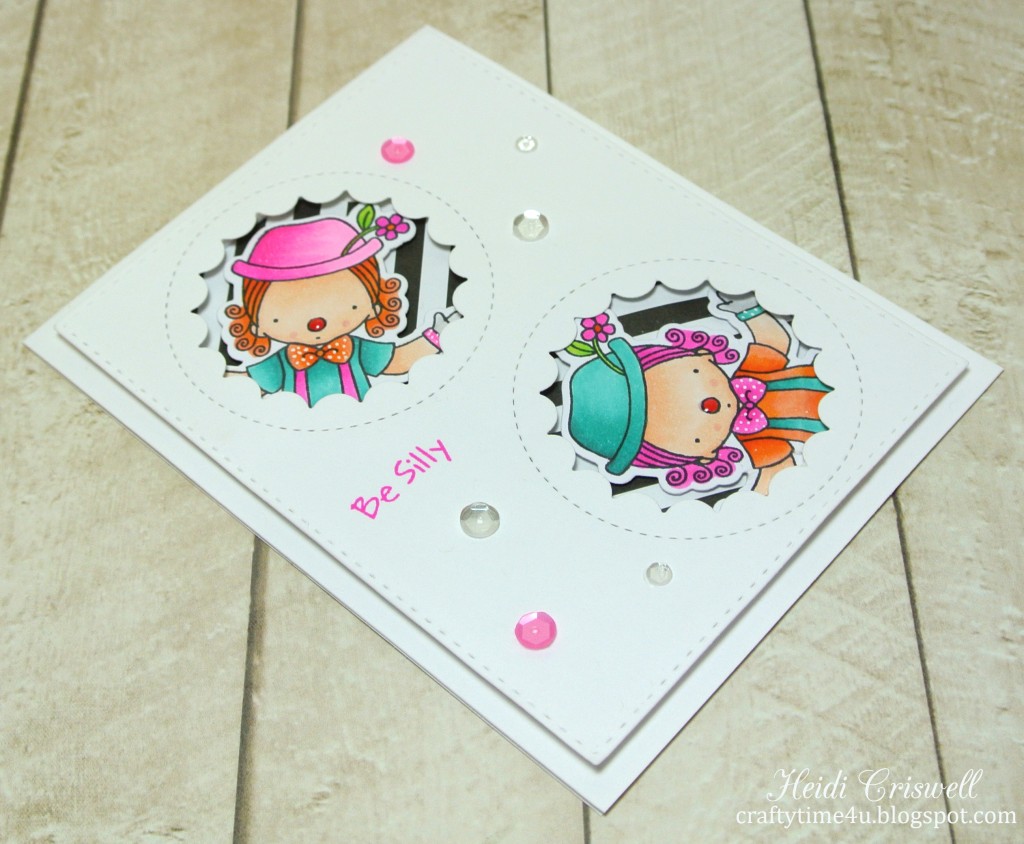
DSC_7952I used stripped black and white paper for the backgrounds inside the peek-a-boo windows. and to finish my card I applied some glossy accent to the clown's noses and I added few of my favorite Pretty Pink Posh Sequins on "Sparkling clear" and "Pink Peonies"

I hoped you enjoy this card, all the supplies are listed and linked below have a wonderful day! 

Supplies:
Thanks so much for stopping by, I'll see you soon with more Crafty time 4U!

Monday, September 28, 2015

Lawnscaping Challenge, One Layer Cards


Hello everybody, welcome back to Crafty Time 4U, I hope you had a great weekend! Today I'm over the Lawnscaping Challenge blog, we are currently having our Lawnscaping Challenge No. 114 "One Layer Cards", sponsored by Lawn Fawn. If you haven't enter it, you can do it HERE
To inspire you to participate, I had created couple of one layer cards, one for fall and one for Christmas. One layers cards are great for mailing, and also can be quickly made. So here are the cards that I made, I hope you'll enjoy them and enter this challenge, I can't wait to see all your creations

 For this card I sued the "into the woods" the leaves were from the "Happy harvest" and the banner from "bannerific" stamp sets by Lawn Fawn. I used a little bit of masking and I finished the card with some 4mm sequins. 

For this card I got inspired on a card that I made back in July, however it wasn't a one layer card nor a Christmas card, but the idea came from that card you can see the card here. For this card I used the "Baaah Humbug" stamp set, some masking, and some subtle ink blending. I used the stitched borders to emboss some decorative border along the left and bottom sides of the card, and finished with some sequins.

Masking is a great way to add dimensions to a one layer card. you can do a lot more complex masking, or you could make simple fast cards to send easily over the mail, the possibilities are endless. 

I hoped you enjoyed these cards and that you give them a try, have a wonderful week!

Thanks so much for stopping by, I'll see you soon with more Crafty Time 4U!


Friday, September 25, 2015

Lawnscaping FIT Blog Hop: Inspired by the Color Dark Blue


Welcome back to Crafty Time 4U! Today is the last Friday of the month, so we are having our Lawnscaping Challenge FIT blog hop! This month we are inspired by the color dark blue, and let me tell you, you really need to hop alone this time, because the Lawnscaping Challenge FIT DT team have some amazing designs that will sparkle your creativity.
Today's hop is sponsored by Ink Road online shop, and you could win a $25 gift certificate to their shop, All you have to do is to leave a comment on each one of the participant's blogs.
Let me show you the card that I made for today's hop and I will tell you a little bit more about it.

For the background, I used snow flakes from the "critters in the snow" and "ready set snow" stamp set, I stamped them with Versamark ink and used white embossing powder, which I heat embossed. Then I used the "Zig clean real brush markers to created the watercolor washes background.


 I stamped, colored and die cut all the images from the "toboggan together" stamp set (I used Copic  Markers to color them) then I die cut a stitched snowy hill using white card stock and silver glitter paper and adhered them to the front panel of the card using foam adhesive. Then adhered all the die cut images. I stamp the sentiment from the "Baaa Humbug" stamp set, using "Deep sea" Lawn Fawn Ink. Finally I added some Pretty Pink Posh sequins as a finishing touch.

All the supplies are listed and linked below. Have a fabulous weekend!

Copic Color I used: E27, E25, E23, E57, E55, E53, B39, B28, B26, T0, T2, W1, W3
Zig Clean Color real brush markers colors: 030 Blue, and 032 Persian blue.

You should had came from the fabulous blog of  Angel and your next stop is the talented Marina, but just in case you started here on my blog, below is the whole line up


Blog hop order:


Supplies:
I am affiliated to Amazon ( I receive a commission when products are purchased though links here at this blog at NO additional cost to you)

Thanks so much for stopping by, I'll see you soon with more Crafty Time 4U!